
Record an app window on Mac when you want one focused workflow on screen without exposing your whole desktop.
A full-screen recording is easy to start, but it often captures more than the viewer needs. Notifications, side projects, browser tabs, and desktop clutter can all pull attention away from the actual task. A window recording gives you a tighter frame from the first second.
That matters for product demos, bug reports, tutorials, and course clips. The viewer should see the app, the pointer, and the action. They should not need to decode your whole workspace.
This guide walks through a practical Mac workflow for recording one app window, checking audio, polishing the edit, and exporting a clean video. It also explains where built-in Mac tools fit and where a dedicated recorder like Clipa makes the workflow easier.
Record an app window on Mac without desktop clutter
The goal is not just to start a recording. The goal is to control what the viewer sees.
Apple's built-in Screenshot and QuickTime tools are useful for quick captures. Apple's Mac help explains the standard screen recording controls for the whole screen or a selected portion, and the QuickTime guide covers the basic screen recording flow. Those tools are fine when you need a fast clip or when a selected portion can frame the app well.
For a repeatable app-window workflow, you want three things:
- A capture mode that can target the window you mean to show.
- Audio controls for microphone and system sound before recording.
- Editing tools that let you trim, zoom, annotate through cursor behavior, and export without moving to another app.
Clipa is built around that single Mac workflow. The recording panel includes Display, Window, Area, and Preset modes. In Window mode, you choose the app window first, then decide whether to include microphone, system audio, and camera. After recording, the clip opens in the editor so you can clean up the timeline before export.
Choose the right window before you press record
Window capture is strongest when the viewer can follow the task without seeing the rest of your desktop. Before recording, prepare the app window as if it were a stage.
Resize the window to a comfortable shape. Avoid making it so wide that toolbar text becomes tiny after export. If the app has sidebars or inspectors, keep only the panels that support the story. Close unrelated tabs inside the app. If you are recording a browser window, use a clean profile or a temporary window with only the tabs you need.
In Clipa, open the recording panel and choose Window. Pick the exact window from the visible previews. The selected window is outlined, so you can confirm the target before you start. That small check prevents a common mistake: recording the wrong browser window or an old app state that was hidden behind the one you meant to capture.
If you need to show a menu, popover, or drag action outside the app window, use Area mode instead. Area capture is better when the action crosses window boundaries. Window capture is better when the story lives inside one app.
Set microphone and system audio before recording
Audio should be decided before the first take. A silent window recording can work for a quick bug report, but demos and tutorials usually need narration or app sound.
Use microphone audio when you need to explain decisions. Use system audio when the app itself produces sound, such as a notification, media preview, or product interaction. Use both when the viewer needs your voice and the app sound at the same time.
Clipa's recording panel exposes microphone and system audio controls next to the capture modes. That keeps the setup visible while you choose the window. The important habit is simple: confirm the audio state before you press Record.
For a bug report, say the setup out loud at the beginning if the issue depends on it. For example, mention the browser, account state, or app version that matters. For a product demo, record a short test and listen back before the real take. Audio mistakes are easier to catch before you spend time editing.
Keep the recording short enough to edit well
A focused window recording should have a clear start and finish. Do not record while you are still deciding what to say. Take a few seconds to reset the app window, place the pointer, and start from a predictable state.
For a product demo, begin at the point where the viewer understands the problem. For a tutorial, begin one step before the main action. For a bug report, begin before the reproduction step so the viewer can see cause and effect.
If you make a mistake, pause for a beat and restart the sentence. You can trim the mistake later. Do not stop and restart the whole recording unless the app state has changed in a way that would confuse the edit.
This is where a recorder with an editor saves time. The capture does not need to be perfect. It needs enough clean material to edit into a clear video.
Edit the window recording for attention
After capture, the first edit pass should remove friction. Trim the dead air at the start. Cut the ending after the result is visible. Remove long pauses and repeated attempts.
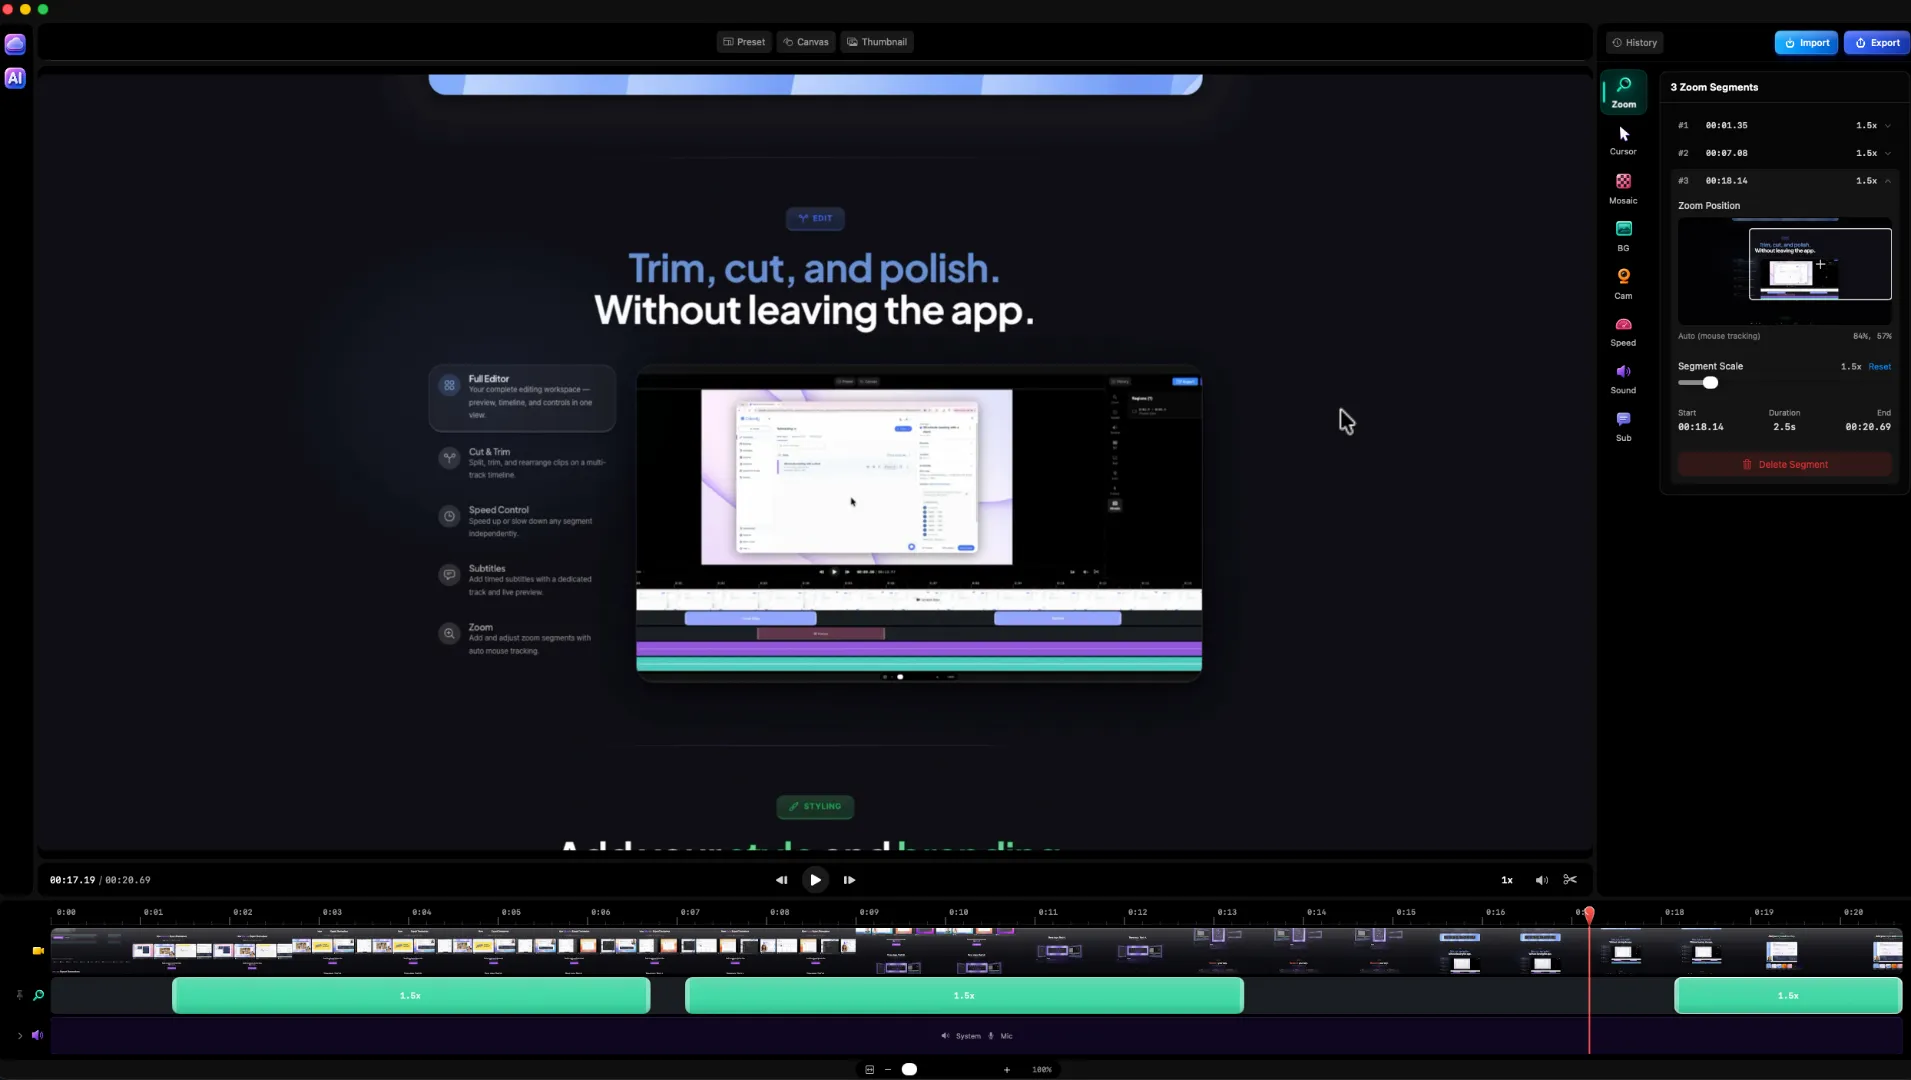
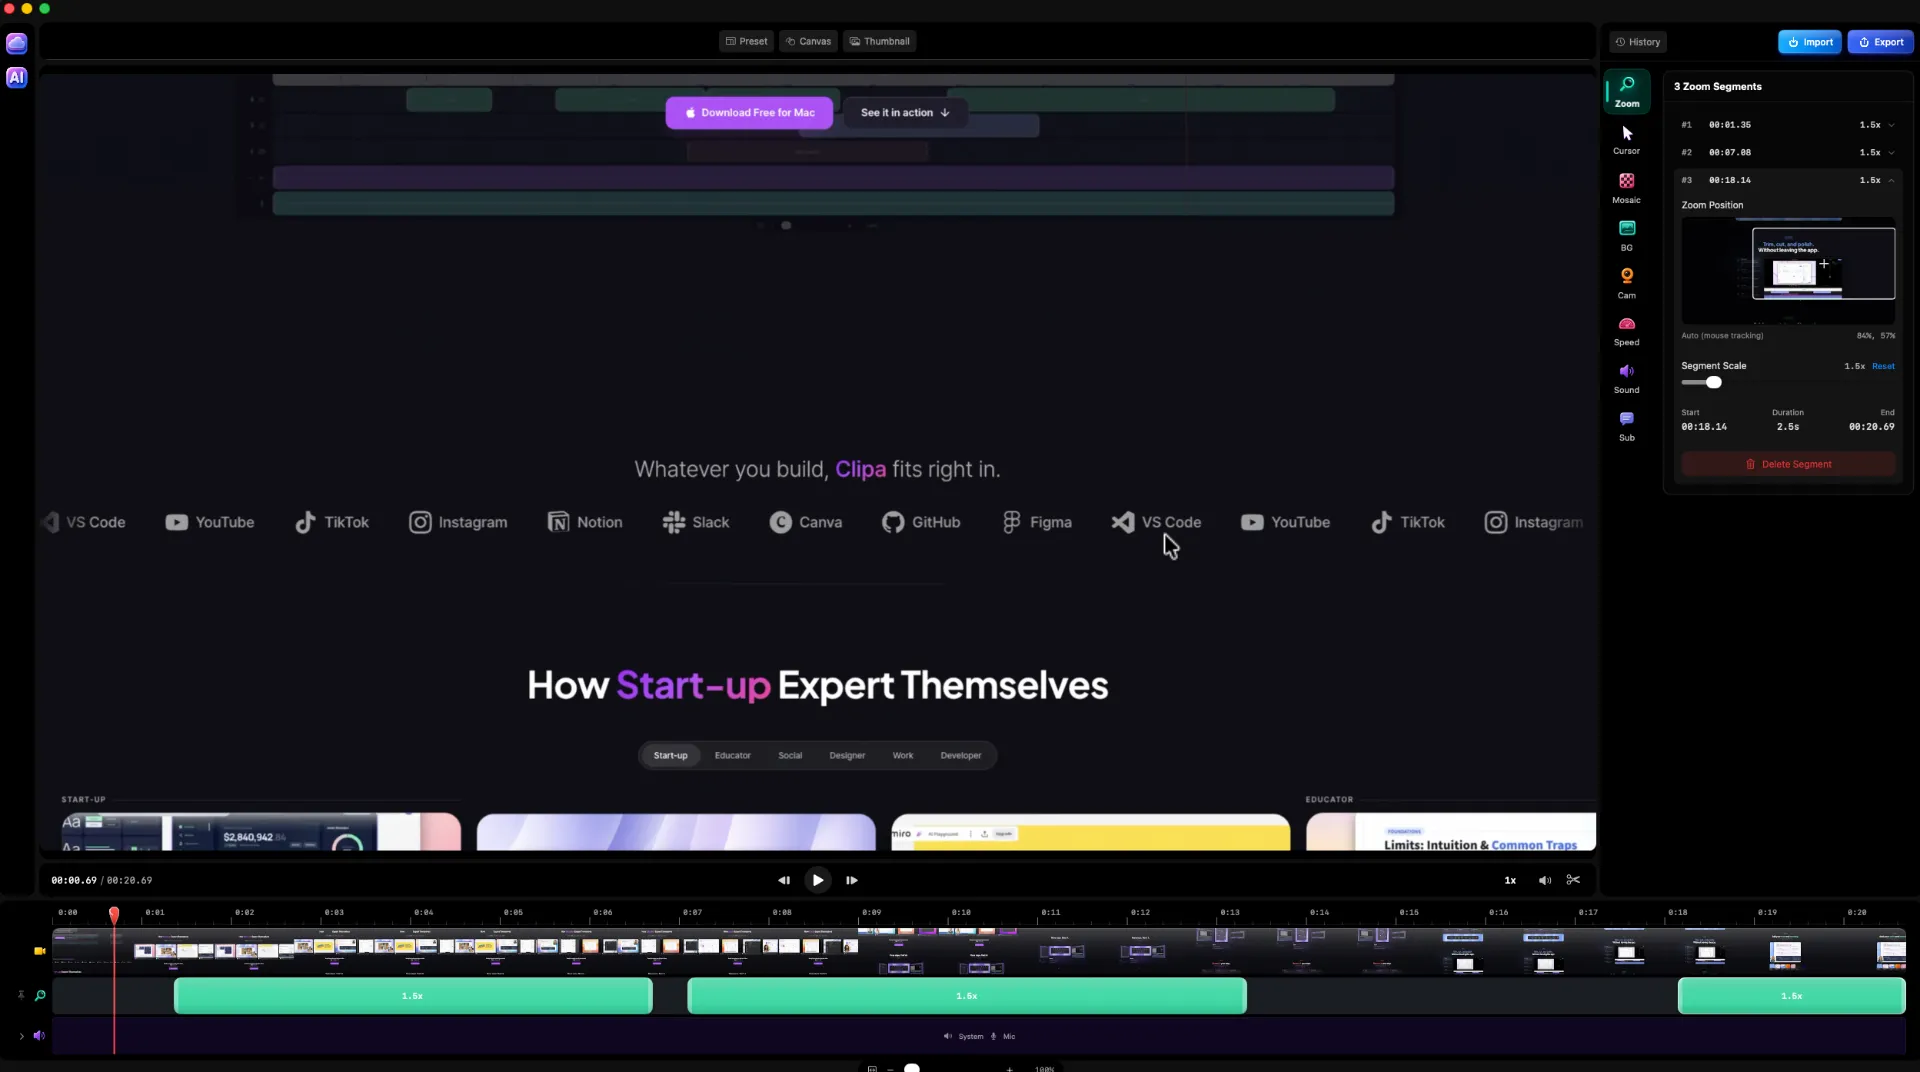
Then make the app window easier to follow. Clipa's editor is designed for screen videos, so the same workflow can handle timeline edits, cursor-focused polish, zoom segments, audio, and export. Recent Clipa releases also added improvements around auto zoom segments, click feedback, subtitle generation, a transcript view, and export history. Those updates matter because window recordings often need small clarity improvements rather than heavy cinematic edits.
Use zoom only where it helps the viewer. A login field, a setting toggle, a timeline handle, or an error message may deserve a closer view. A whole recording full of zooms feels busy. A few deliberate zooms make the important moments easier to understand.
Use cursor effects with the same restraint. A pointer highlight or click cue can help viewers follow a tutorial. It should not compete with the app UI. If the window already has strong visual feedback, keep cursor effects subtle.
If your recording includes speech, subtitles can make the video easier to scan. Clipa's version 1.5.0 release notes describe on-device subtitle generation with an optional transcript view. Use subtitles when the viewer may watch without sound, or when the video needs to work in a support ticket, course page, or social post.
Export the recording for where it will be watched
A window recording should be exported for its destination. A support ticket, YouTube tutorial, product changelog, and internal Slack thread all have different tolerance for file size and detail.
Keep UI text readable. If the window contains code, forms, menus, or small labels, avoid shrinking the export too far. Use a format that your audience can open easily. MP4 is usually the safest choice for sharing, while other formats can make sense for specific workflows.
Apple's AVFoundation documentation describes export sessions as part of the framework used to write media assets to files. That matters because export is not just a save button. It is where resolution, format, compression, and playback compatibility meet.
Clipa's export workflow includes format, quality, frame rate, and resolution controls. Recent release notes also describe Export History, which helps you see where exports were saved and track running exports. That is useful when you are producing several cuts from the same window recording.
Before you send the video, open the exported file and watch the first seconds, the main action, and the ending. Check that the target window stays readable. Listen for clipped audio. Confirm the recording does not show private tabs, files, or messages.
When to use built-in Mac recording tools
Built-in Mac tools are still useful. Use them when the recording is disposable, the edit does not matter, or a selected portion is enough. They are also helpful when you need to send a very quick visual note.
Use Clipa when the recording needs to become a finished video. That includes tutorials, launch updates, app walkthroughs, bug reports for engineers, and product demos. The advantage is not just Window mode. It is the connected workflow from capture to edit to export.
Apple's ScreenCaptureKit documentation is a useful technical reference for why modern Mac capture apps can offer more focused capture choices. It describes APIs for capturing screen content and filtering shareable content such as displays, apps, and windows. A product like Clipa builds on that kind of native Mac capture direction while adding the editing workflow that a raw capture tool does not provide.
A simple window-recording checklist
Use this checklist before your next recording:
- Pick the exact app window you want to show.
- Hide unrelated tabs, sidebars, and private content.
- Choose Window mode when the action stays in one app.
- Use Area mode when the action crosses window boundaries.
- Confirm microphone and system audio before recording.
- Record from a clean starting state.
- Trim the start and ending before export.
- Add zoom only where details need emphasis.
- Watch the exported file before sharing.
The cleaner the capture, the easier the edit. The clearer the edit, the faster the viewer understands the point.
Record one app window, then ship the video
To record an app window on Mac well, start with the frame. Pick the right window, check audio, capture the task, and edit only what improves understanding. That keeps the video useful without turning it into a production project.
Clipa brings that workflow into one native Mac app for recording, editing, and exporting focused screen videos. Try it at https://www.clipa.studio when your next app demo, tutorial, or bug report needs to show one window clearly.
Sources: Apple Mac Help: Take screenshots or screen recordings on Mac, Apple QuickTime Player User Guide: Record your screen, Apple Developer: Capturing screen content in macOS, Apple Developer: AVAssetExportSession