Cloud storage for video editing should make project assets easier to find without turning every edit into a cloud dependency.
For Mac screen-recording work, storage is usually not the glamorous part of the workflow. The polished result comes from a clear capture, a focused timeline, readable zooms, clean audio, and an export that fits the destination. But the work falls apart quickly when project files live across Downloads, Desktop, external drives, old exports, message threads, and one-off folders.
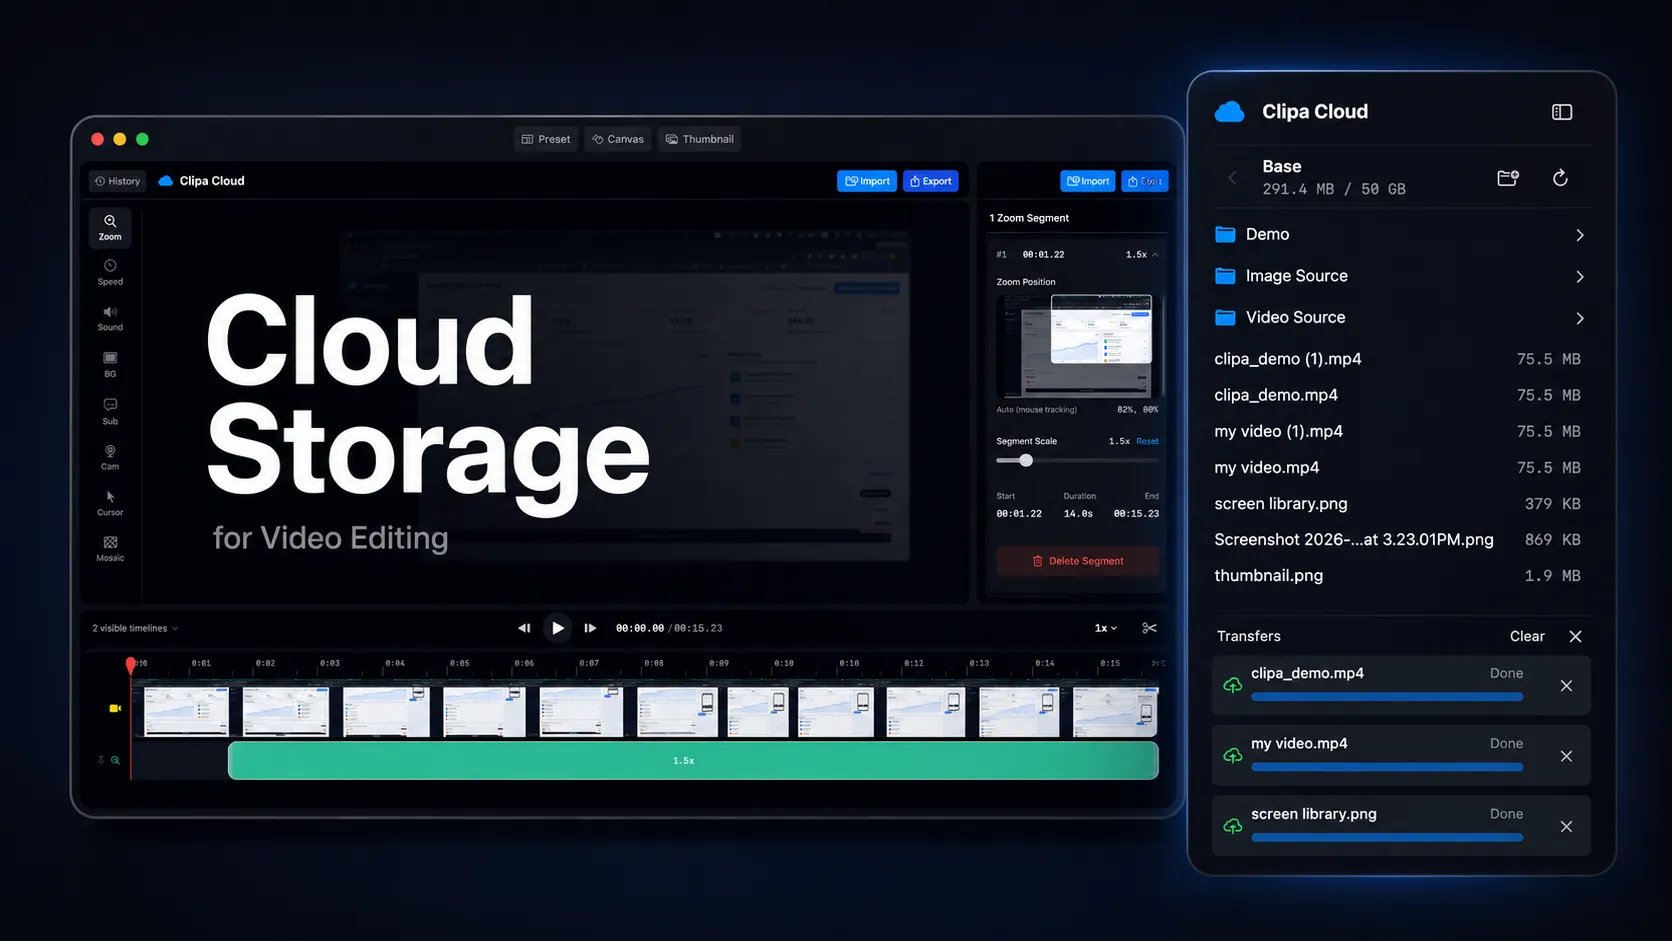
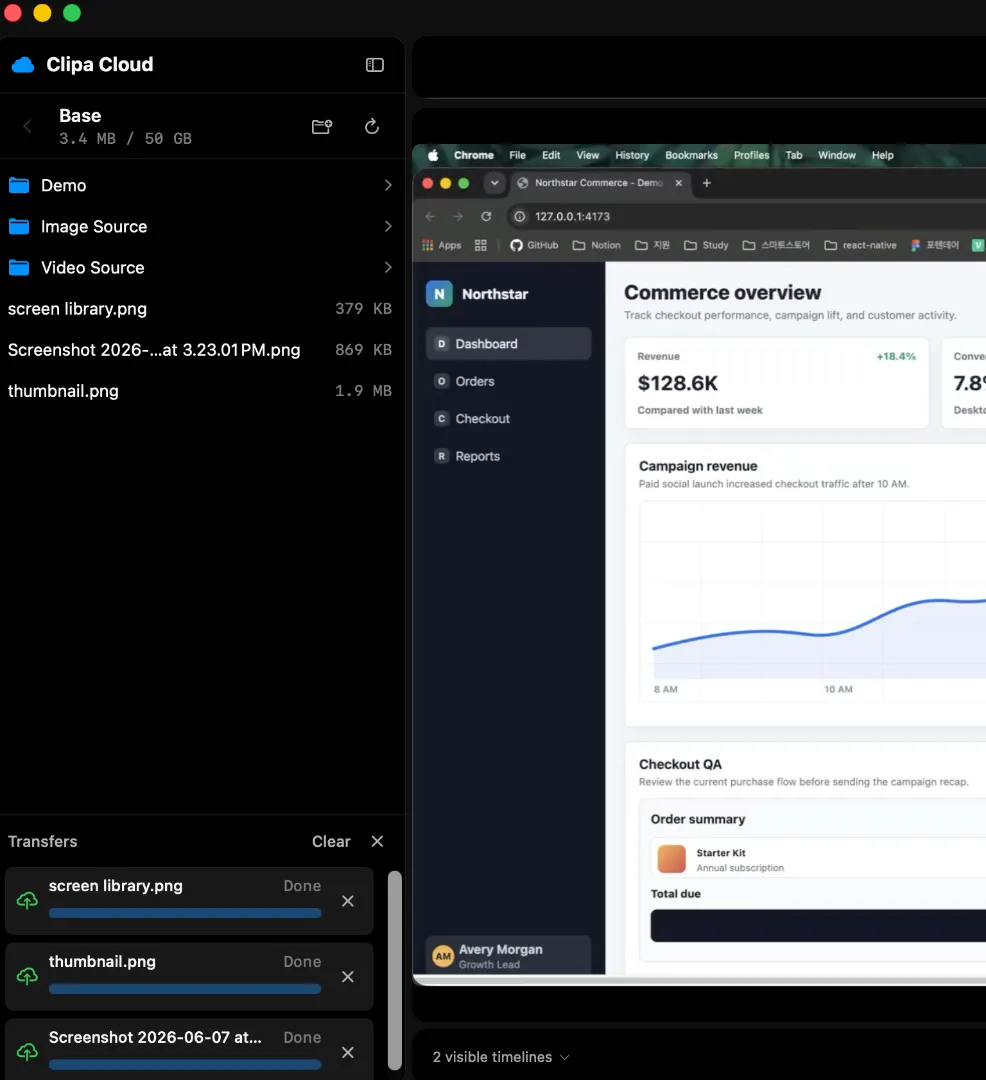
That is the problem Clipa Cloud is designed to reduce. In Clipa v1.3.0, Cloud Storage is available for Pro users as a private Cloud Library inside the editor. You can upload, organize, manage, and import cloud files without leaving the project. The release also adds clearer transfer feedback and safer handling when uploads fail.
This guide explains where cloud storage helps a Mac video workflow, where it should stay out of the way, and how to use Clipa Cloud without confusing it with a generic drive or public video hosting service.
What cloud storage for video editing should solve
Cloud storage for video editing is useful when it solves three practical problems.
First, it gives project assets a known home. Screen recordings often need supporting media: intro images, reference clips, audio, subtitles, product screenshots, and older exports. A private library keeps those assets near the edit instead of scattering them across local folders.
Second, it reduces repeated file hunting. If you make tutorials, product demos, course clips, or bug reports, many files come back again and again. A reusable library helps you pull those files into a new project faster.
Third, it gives you a cleaner handoff between storage and editing. A normal cloud drive can store files, but it usually does not understand your editing workflow. You still have to download or sync the file, import it, validate it, and make sure the editor references the right local copy.
Clipa Cloud is narrower on purpose. It is a private Cloud Library for Clipa work and related media. It is not a web dashboard, a public sharing drive, or a full team asset management platform.
That narrower scope is important. For screen recordings, the goal is not to make every file public or collaborative. The goal is to keep the files you need for the edit close to the place where you edit.
The safe boundary: cloud library, local editing
A good Mac video workflow should not make cloud availability the single point of failure for editing.
Clipa already presents itself as a Mac-native screen recorder and editor where recording, editing, and exporting happen in one local workflow on your Mac. The product site describes the core flow as record, edit, and export in one app, with local processing for the editing and export path: Clipa Studio.
Clipa Cloud extends that workflow. It does not replace the local editing model.
When a cloud media file is used in a Clipa project, the editor still needs usable local media for the timeline. That fits how Mac media apps typically work. Apple’s AVFoundation includes URL-based media assets through AVURLAsset, and native editing workflows commonly work with files that the app can inspect, decode, and validate locally.
This distinction matters for trust.
Cloud storage should help you find, upload, organize, and import assets. It should not silently turn every timeline edit into a remote streaming dependency. It should also avoid putting temporary signed URLs or private storage identifiers into the project file.
In practical terms, the best workflow is simple:
- Keep reusable project assets in the Cloud Library.
- Import the asset into the current project when it is needed.
- Let the project keep its own local media reference after import.
- Export from the Mac workflow rather than treating the cloud copy as the finished video pipeline.
That gives you cloud organization without making the edit fragile.
How Clipa Cloud fits screen-recording projects
Clipa Cloud is built for the kinds of files that surround screen-recording work.
A product demo might use a recorded app walkthrough, a short intro image, a logo animation, a background music track, and a final export reference. A course video might use lesson slides, a voiceover, and a recurring title card. A support video might use a previous bug reproduction clip and a new recording.
Without a library, those files drift. You import from Downloads once. You drag from Desktop another time. A reference file stays in a message attachment. A newer export overwrites an older one.
With a Cloud Library, the workflow can be calmer:
- Upload reusable files to Clipa Cloud.
- Organize them in folders that match your projects or recurring asset types.
- Open the Cloud panel from the editor when a project needs an asset.
- Drag an importable file into the preview or import it from the editor workflow.
- Let Clipa validate and materialize the media before the edit changes.
The important part is the last step. Cloud import should not bypass the editor’s normal validation and history behavior. If a file cannot be used safely, the app should stop before committing timeline state. If a transfer fails, the project should not point at a broken temporary file.
That is also why Clipa Cloud separates storage capability from editing capability. Some files can be stored for reference. Some can be previewed or imported. Some should be blocked before upload. That keeps the Cloud Library useful without turning it into an unsafe dumping ground.
Privacy and security expectations
Cloud storage always raises a fair question: who can access the file?
For a screen-recording product, that question is serious. Recordings can contain product roadmaps, customer data, internal tools, analytics dashboards, or private bug reports.
Clipa Cloud is designed as a private Pro workspace. It is not a public video host. It is not a share-link feature. It is not a public bucket. That means the safe mental model is “private library for editing assets,” not “publish this video to the web.”
The underlying architecture also matters. Supabase documents Row Level Security as a way to enforce granular row access in Postgres-backed applications: Supabase Row Level Security. Cloudflare R2 supports presigned URLs for controlled access to objects without exposing long-term credentials to the client: Cloudflare R2 presigned URLs.
Those tools do not make privacy automatic by themselves. The product still has to use them correctly. For a user-facing Cloud Library, the trust rules are straightforward:
- The app should not store cloud provider credentials locally.
- Object storage should not be public by default.
- Temporary access URLs should be treated as sensitive.
- Project files should not persist temporary signed URLs.
- User-visible file names should be separated from internal storage identifiers.
- Upload failures should clean up partial state when possible.
That is why Clipa’s Cloud Storage release focuses on upload feedback, account and plan consistency, safer failure cleanup, and project package reliability. Storage is not only about putting bytes somewhere. It is about keeping the editing state and the storage state understandable.
When a generic cloud drive is still better
Clipa Cloud is not meant to replace every storage tool.
Use a general cloud drive when you need broad file sync across many apps, office documents, shared team folders, client review workflows, or long-term archival storage outside Clipa. Use a video review platform when you need timestamped comments, approval rounds, or public delivery links. Use a full production asset manager when a team needs permissions, roles, versioning, and multi-editor collaboration across many tools.
Use Clipa Cloud when the files belong close to a Clipa screen-recording workflow.
That might include:
- reusable images for product demos
- intro or outro assets for tutorial videos
- background music for creator clips
- exported examples you want to reference later
- project packages you need to reopen on another Mac
- supporting files that should stay near the editing workspace
This positioning avoids a common cloud-storage mistake. Not every video file needs to live in the editor. Not every storage service needs to become an editor. The best tool is the one that keeps the next step obvious.
A clean Mac workflow for Cloud Storage in Clipa
Here is a practical workflow for using Cloud Storage in Clipa without adding unnecessary complexity.
Start local when recording matters
Record the main screen video in Clipa when possible. Apple’s ScreenCaptureKit is the modern macOS framework for high-performance capture of screen and audio content, and Clipa is built around a native Mac recording and editing workflow.
Keeping capture and editing in one app removes avoidable handoffs. You do not have to record in one tool, move the file to another, then export from a third.
Use Cloud Library for reusable assets
Upload assets that are likely to be reused. Good candidates include logos, title-card images, short reference clips, music, subtitles, and project packages. Organize them in folders that match how you think while editing.
Do not upload every temporary file just because cloud storage exists. If a file is only useful for one short edit, local import may be enough.
Import only when the project needs it
When a project needs a cloud asset, import it into the editor workflow. Treat the Cloud Library as the source library and the current project as the editing workspace.
This keeps the timeline clear. The project should not depend on a browser tab, a public link, or a sync folder that may change in the background.
Watch transfer feedback
Large media files need clear progress. Clipa v1.3.0 adds clearer upload, file-change, and batch-action feedback. That is useful because transfer state affects confidence. You should know whether a file is uploading, ready, failed, or waiting for cleanup.
If a transfer fails, fix the storage problem before building the edit around that asset. A failed upload is not the same thing as a ready project file.
Export for the destination
After the project is assembled and edited, use Clipa’s export controls for the final destination. Clipa supports common screen-recording export needs such as MP4, MOV, WebM, platform presets, and AI upscaling in its broader product workflow. The cloud copy is not the published video by default. The export is.
What to avoid
Avoid treating cloud storage as a magic fix for messy project habits. A Cloud Library helps most when you still name files clearly, organize folders consistently, and import only the assets the project needs.
Avoid editing directly against unstable remote references. Even if a cloud service can stream or sync files, a native editing workflow is easier to trust when the project has validated local media.
Avoid using a private library as a publishing system. If you need public delivery, use a real publishing destination after export.
Avoid uploading sensitive recordings without a reason. Cloud Storage is optional. Keep private local-only work local when that is the better trust choice.
Final recommendation
Use cloud storage for video editing when it shortens the path from “I need that asset” to “it is safely in my project.” Do not use it to add a remote dependency to every edit.
Clipa Cloud is a good fit for Mac creators who make screen recordings often and want a private Pro library inside the editor. It helps keep reusable files organized, supports direct import into the workflow, and preserves the practical boundary between cloud storage and local editing.
If your goal is to record, organize, edit, and export screen videos in one Mac workflow, start with Clipa Studio.