Speeding up a screen recording on Mac is a simple edit in theory, but the right tool depends on what you need to export.
If you only want to watch a recording faster, QuickTime Player works. If you need to export a sped-up video, iMovie or Final Cut Pro can do it. But if your goal is to speed up specific parts of a screen recording, such as loading screens, progress bars, install steps, or repeated UI actions, a recorder with a built-in timeline editor is usually faster.
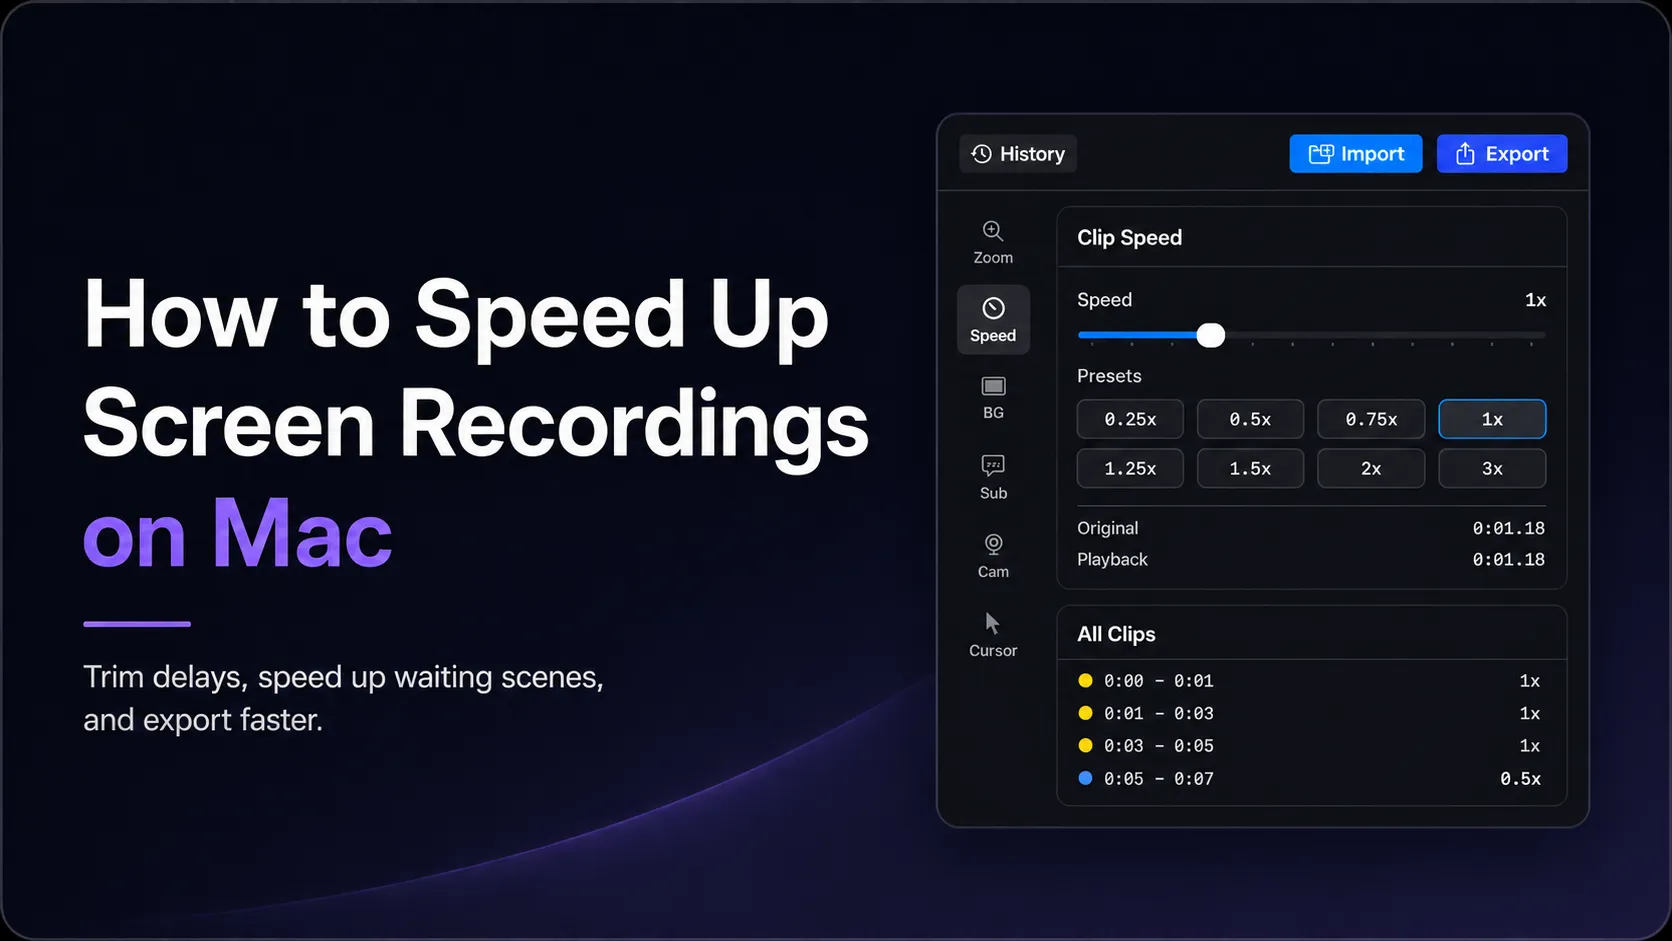
Clipa is built for that workflow: record your screen, open the recording in the editor, split the timeline into segments, adjust speed per segment, preview, and export without moving the file into a separate video editor.
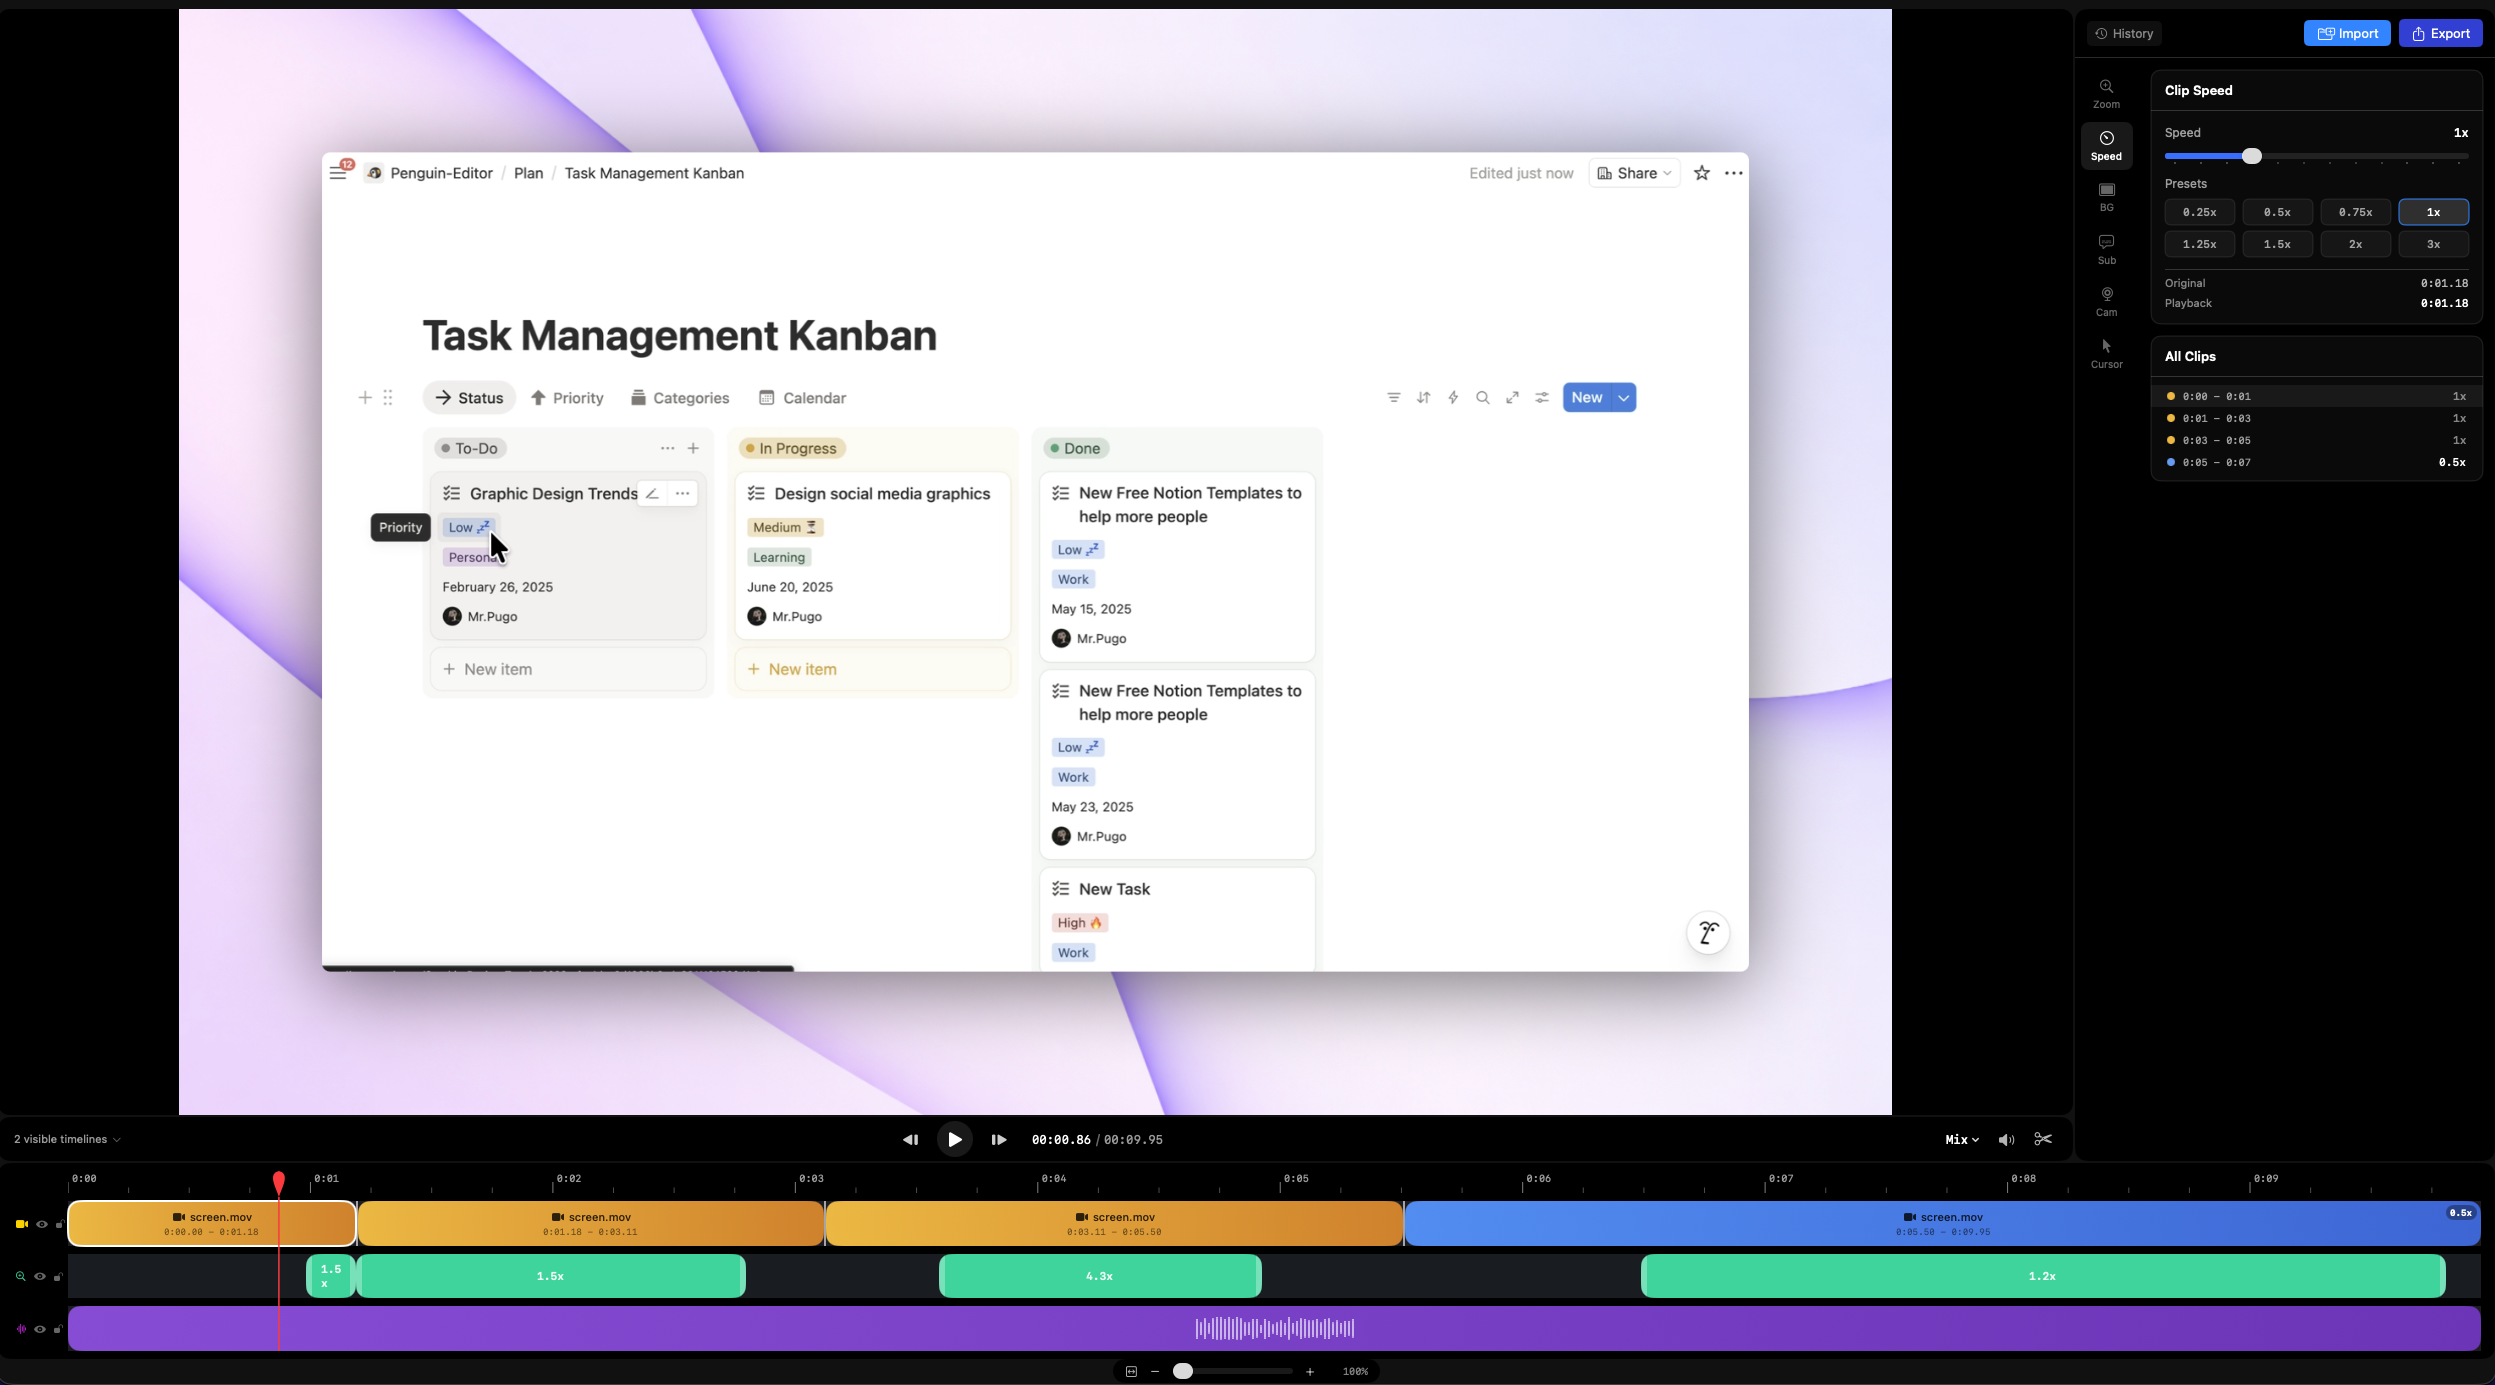
Clipa lets you adjust playback speed by timeline segment, so waiting time can be compressed without speeding up the whole recording.
Quick Answer
To speed up a screen recording on Mac:
- Open the recording in a video editor.
- Split the recording around the section you want to speed up.
- Select that segment.
- Apply a speed multiplier such as 2x, 4x, or 8x.
- Preview the full timeline.
- Export the finished video.
QuickTime is useful for playback review, but it is not the best option when you need to export a retimed screen recording. For exported speed changes, use iMovie, Final Cut Pro, or a screen recorder with built-in editing such as Clipa.
Why Screen Recordings Need Segment-Level Speed Control
Screen recordings contain a lot of real-time waiting.
A file upload takes as long as it takes. A package install may sit on a progress bar for 40 seconds. A build step might be important enough to show, but not important enough to make viewers watch in real time.
That is why the most useful speed edit is rarely “make the whole video faster.” It is usually:
- Speed up a loading screen or progress bar
- Compress repetitive setup steps
- Keep narration and important UI moments at normal speed
- Slow down a short interaction so viewers can see what happened
- Return to 1x when the result appears on screen
For tutorials, product demos, bug reports, and developer videos, segment-level speed control helps the finished recording respect the viewer’s time without losing context.
Can QuickTime Speed Up a Screen Recording?
QuickTime Player can change playback speed while you watch a video. Apple documents playback speeds such as 2x, 5x, 10x, 30x, and 60x, plus smaller forward-speed increments with Option-click.
That makes QuickTime useful when you want to review footage quickly.
The limitation is workflow: QuickTime is a lightweight player and basic editor. It is useful for trimming, splitting, and playback review, but it is not designed as a full retiming workflow for exported screen-recording edits.
Use QuickTime when you want to watch faster. Use a video editor when the exported file itself needs to play faster.
Source: Apple QuickTime Player playback speed guide
Can iMovie Speed Up a Screen Recording?
Yes. iMovie can change clip speed and export the result.
Apple’s iMovie documentation also supports changing the speed of a selected range within a clip, so iMovie is more capable than a simple whole-clip-only speed tool.
The tradeoff is workflow. iMovie is a general video editor, not a screen recorder. You need to record elsewhere, import the file, make the speed edits, then export. That is fine for occasional editing, but it can feel slow if your main task is producing screen recordings quickly.
Use iMovie when you want a free Apple editor and do not mind importing your recording into a separate app.
Source: Apple iMovie clip speed guide
Can Final Cut Pro Speed Up a Screen Recording?
Yes. Final Cut Pro has powerful retiming tools, including constant speed changes, selected ranges, and variable speed effects.
For professional video work, Final Cut Pro is the strongest option. It is especially useful when you need advanced retiming, speed ramps, complex edits, or a larger production workflow.
For a screen recording that only needs a few segments sped up before publishing, Final Cut Pro may be more than you need.
Source: Apple Final Cut Pro variable speed guide
How to Speed Up a Screen Recording with Clipa
Clipa is a native macOS screen recorder with an editor built into the same app. Instead of recording in one tool and editing in another, your recording opens directly in the timeline after capture.
This makes Clipa especially useful for screen-recording edits where speed changes are part of the normal cleanup process.
Record your screen in Clipa, then open the result directly in the built-in editor.
Step 1: Record or Import Your Screen Recording
Start by recording your screen in Clipa. After the recording finishes, the project opens in the editor.
You can also import an existing screen recording into a Clipa project. The video appears on the timeline, ready for trimming, splitting, speed changes, and export.
Step 2: Find the Parts That Should Be Faster
Play through the recording and look for sections where the viewer does not need real-time playback.
Common examples include:
- Loading screens
- Installation steps
- Uploads and downloads
- Build or deploy progress
- Repeated form entry
- Long scrolling or navigation
The goal is not to speed up everything. Keep the moments that need attention at normal speed.
Step 3: Split the Recording into Segments
Use the split tool to cut at the start and end of the section you want to adjust.
For example, if a 50-second progress bar appears between two important steps, split once before the progress bar and once after it. You now have three timeline segments:
- Normal-speed setup
- Sped-up progress bar
- Normal-speed result
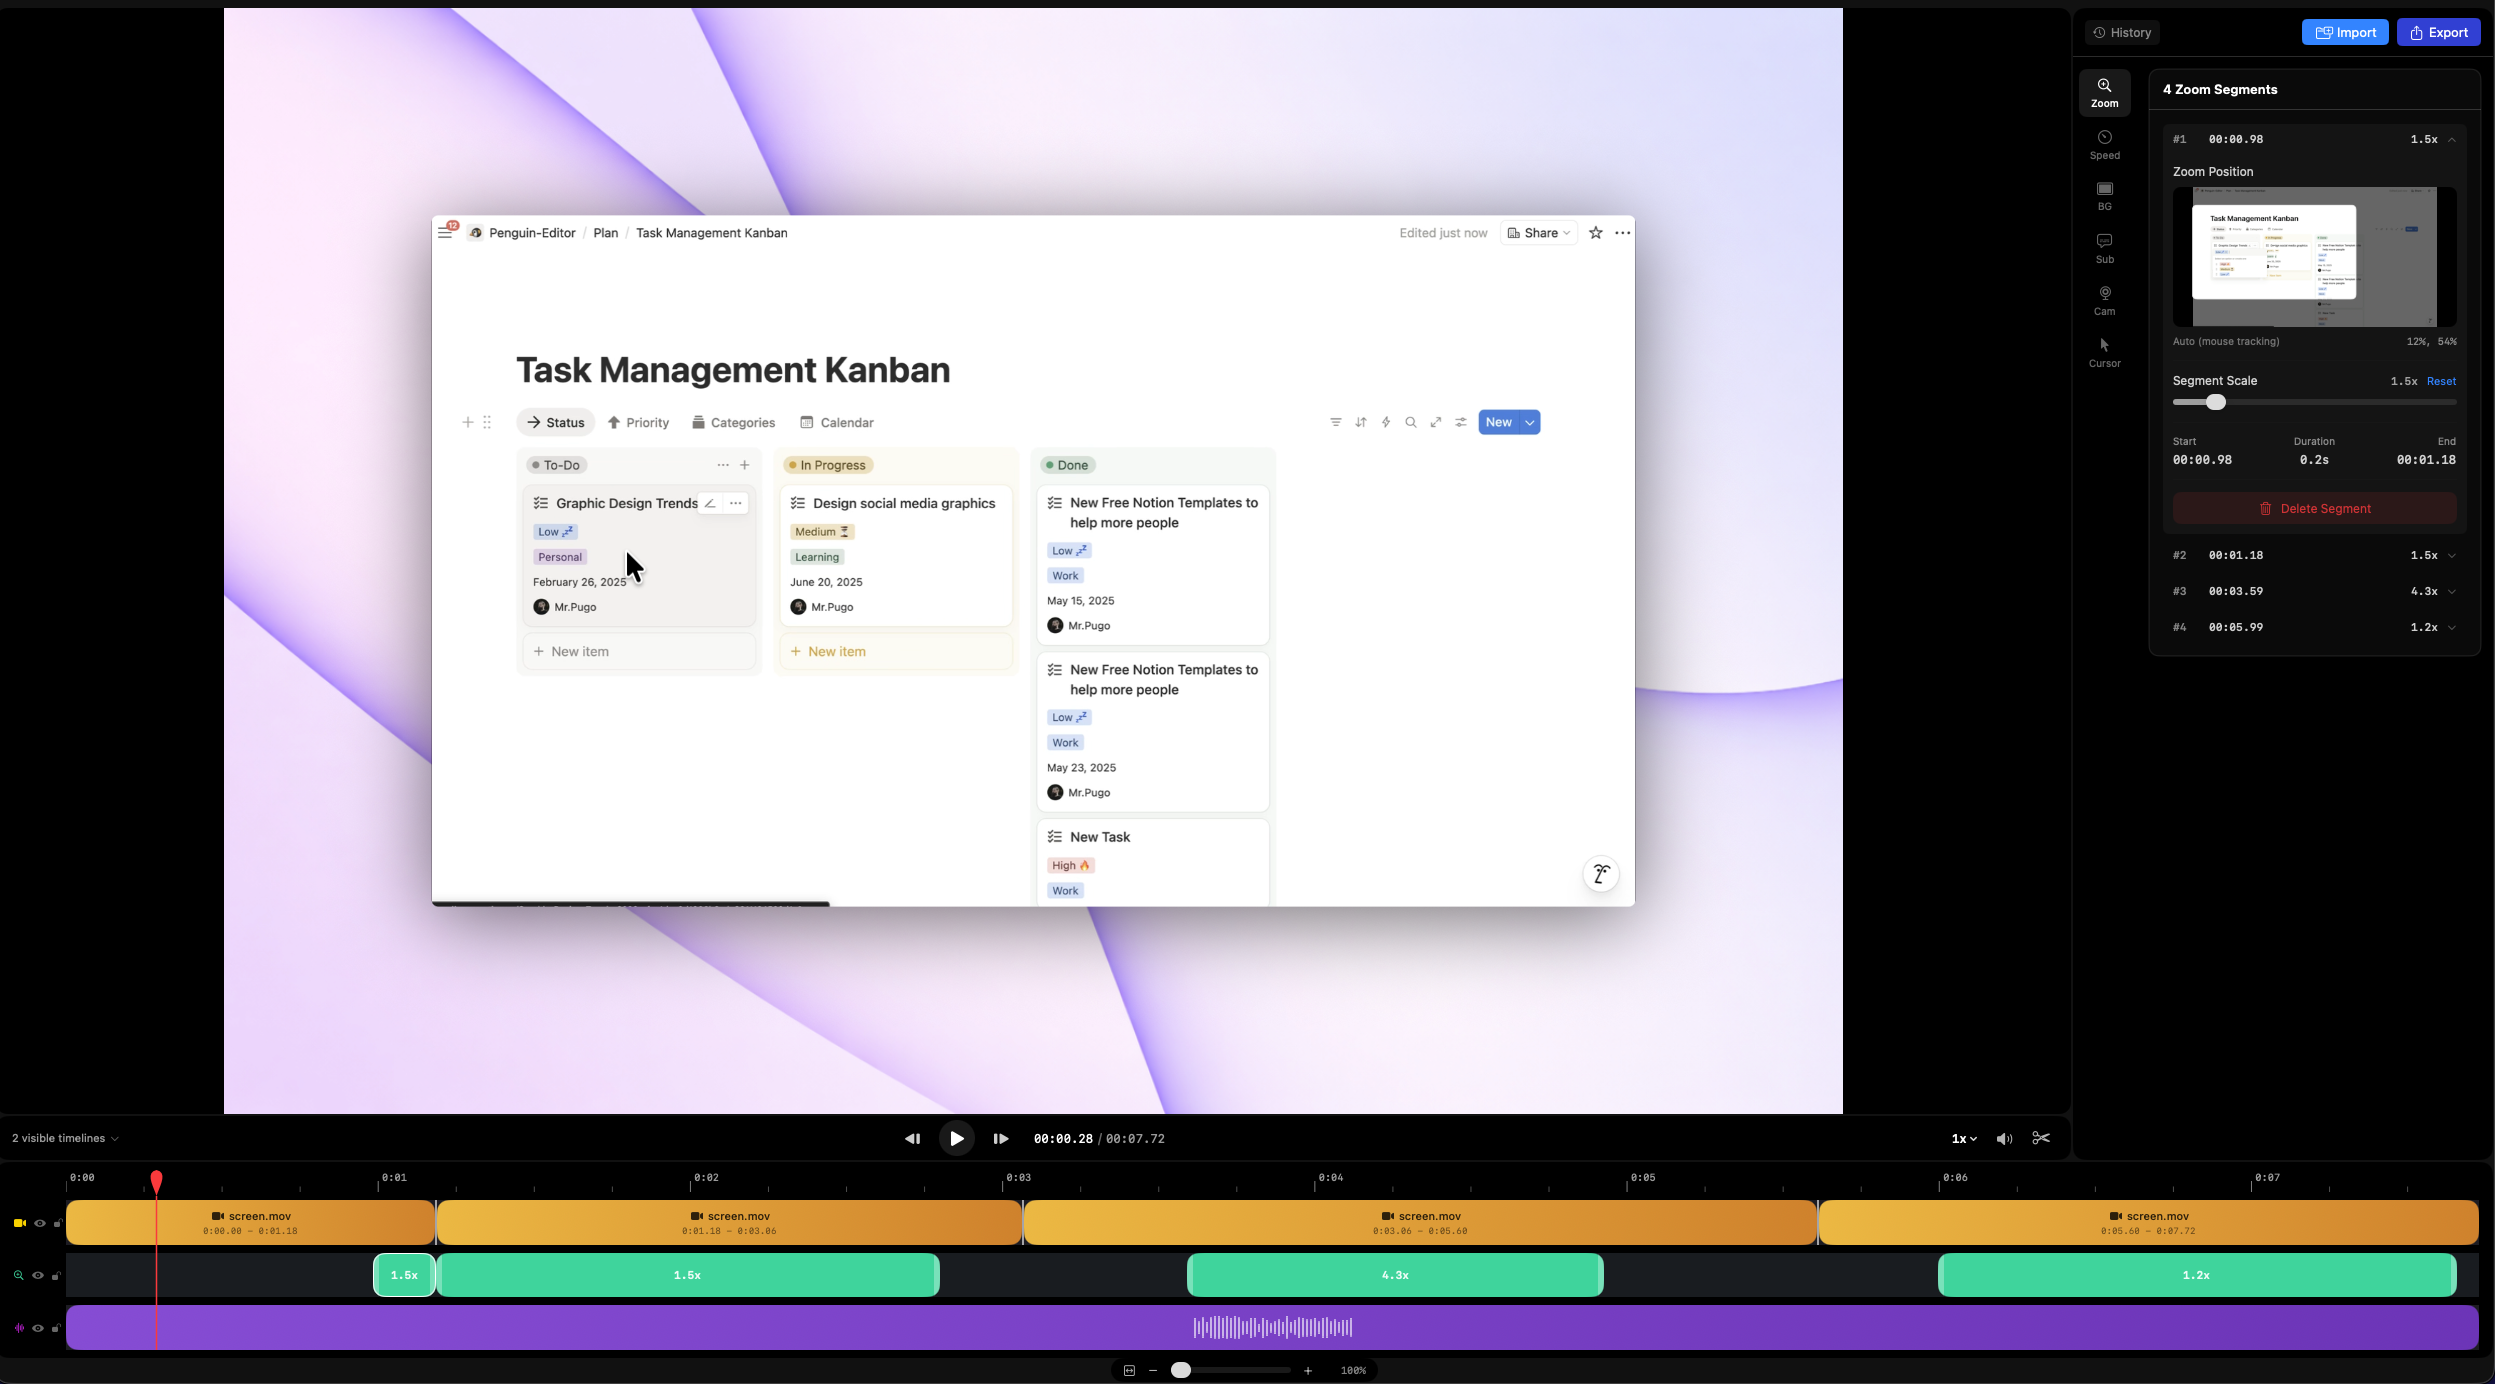
Split the recording around the waiting section, then edit only that segment.
Step 4: Apply a Speed Multiplier
Select the segment you want to change and set its speed.
Use higher values like 2x, 4x, or 8x for dead-time compression. Use slower values like 0.5x when viewers need more time to understand a short UI action.
After the speed change, preview the surrounding timeline. The edit should feel faster, but not confusing.
Select one timeline segment, apply a speed multiplier, and preview the result before export.
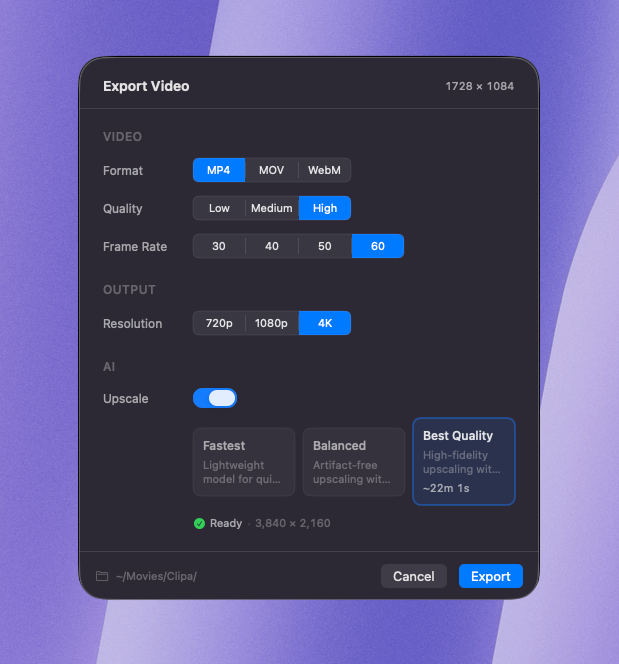
Step 5: Export the Finished Recording
Once the pacing feels right, export the video for your target platform.
Because the speed changes are rendered into the exported file, viewers see the final timing exactly as you edited it. They do not need to change playback speed themselves.
Speed changes are rendered into the exported video, so viewers see the final pacing automatically.
Best Practices for Speeding Up Screen Recordings
Do not speed up narrated sections unless you have a specific reason. Speech becomes harder to follow when it is accelerated too much.
Use speed changes on visual waiting time first: progress bars, loading states, repeated clicks, and setup steps.
Keep transitions readable. If a section jumps from 1x to 8x and back to 1x, make sure viewers can still understand what changed on screen.
Use slower speed sparingly. A 0.5x slow-down can help viewers notice a shortcut, menu action, or cursor movement, but too much slow motion makes tutorials feel heavy.
Preview the full timeline before export. Speed edits that work in isolation can feel abrupt when placed between normal-speed sections.
Frame Rate Notes
Slowing down footage exposes the limits of the original recording frame rate.
For example, a 30 fps recording slowed to 0.5x has fewer unique frames per second of playback, so cursor movement and scrolling may look less fluid. This is expected: the editor cannot invent source frames that were never recorded.
Speeding up footage is usually less noticeable because frames are removed rather than stretched. For most screen tutorials, 2x to 8x speed changes on waiting sections work well.
Quick Comparison
| Tool | Best for | Limitation |
|---|---|---|
| QuickTime Player | Watching a recording faster | Better for playback review than exported retiming |
| iMovie | Free exported speed changes | Separate import/edit/export workflow |
| Final Cut Pro | Professional retiming and speed ramps | More complex than most screen-recording edits require |
| Clipa | Recording and segment-level speed editing in one app | Requires macOS 15 or later |
FAQ
Can I speed up only part of a screen recording on Mac?
Yes. Split the recording around the section you want to change, then apply a speed multiplier only to that segment.
What speed should I use for loading screens?
2x to 4x works well for short waits. For long progress bars or installs, 8x can work if the viewer still understands what is happening.
Does speeding up a screen recording affect audio?
If the sped-up section contains important narration, it can become harder to understand. For narrated videos, apply speed changes mainly to silent or low-value waiting sections.
Final Thoughts
The best way to speed up a screen recording on Mac is to edit by segment, not by the entire video.
QuickTime is useful for faster review. iMovie and Final Cut Pro can export speed changes. Clipa is designed for the screen-recording workflow itself: record, split, adjust speed, preview, and export from one native Mac app.