If you need to trim a screen recording on Mac, the fastest answer is usually QuickTime Player. It is already on your Mac, it opens .mov files quickly, and it is good enough for simple trims.
But simple trimming is only one part of the job.
If you are making product demos, tutorials, bug reports, sales walkthroughs, or creator content, you often need more than removing a few seconds. You may need to cut a mistake from the middle, zoom into a click, adjust audio, hide sensitive information, add a camera overlay, change the aspect ratio, and export for a platform.
That is where the tool choice matters.
This guide covers the practical options: QuickTime Player, iMovie, and Clipa.
Quick Answer
Use QuickTime Player if you need a quick one-off trim or a basic split-and-delete edit.
Use iMovie if you want a free general-purpose video editor and do not mind creating a project.
Use Clipa if you regularly record your screen and want to record, cut, enhance, and export in one native Mac workflow.
Option 1: Trim with QuickTime Player

QuickTime Player is the simplest place to start. Apple documents two useful editing features: trimming and splitting clips.
To trim the beginning or end of a recording:
- Open the recording in QuickTime Player.
- Choose Edit > Trim or press Command-T.
- Drag the yellow handles to keep the part you want.
- Click Trim.
- Save the file.
Apple’s guide for this workflow is here: Trim a movie or clip in QuickTime Player.
QuickTime can also remove a section from the middle, but the workflow is more hidden:
- Choose View > Show Clips.
- Move the playhead to the start of the unwanted section.
- Choose Edit > Split Clip.
- Move the playhead to the end of the unwanted section.
- Split again.
- Select the unwanted middle clip and delete it.
- Save the result.
Apple documents QuickTime splitting here: Split a movie into clips in QuickTime Player.
QuickTime is great when the edit is simple. The limitation is not that it cannot split clips. The limitation is that it is a basic movie editor, not a screen-recording workflow.
If all you need is “cut off the first ten seconds,” use QuickTime. If you need to produce polished screen-recording content often, you will probably want a dedicated editor.
Option 2: Trim with iMovie
iMovie gives you a fuller timeline than QuickTime. You can import your screen recording, split clips in the timeline, delete unwanted sections, add transitions, and export a finished video.
Basic workflow:
- Open iMovie.
- Create a new movie project.
- Import your screen recording.
- Drag the recording into the timeline.
- Move the playhead to the cut point.
- Choose Modify > Split Clip.
- Split again at the end of the unwanted section.
- Delete the middle segment.
- Export the finished video.
Apple’s iMovie split guide is here: Move and split clips in iMovie on Mac.
iMovie is a good free option if you occasionally edit videos. The tradeoff is workflow friction. You are moving a screen recording into a general-purpose video editor, setting up a project, editing, exporting, and then returning to wherever you need the file.
For occasional edits, that is fine. For repeated screen-recording work, it can feel heavier than necessary.
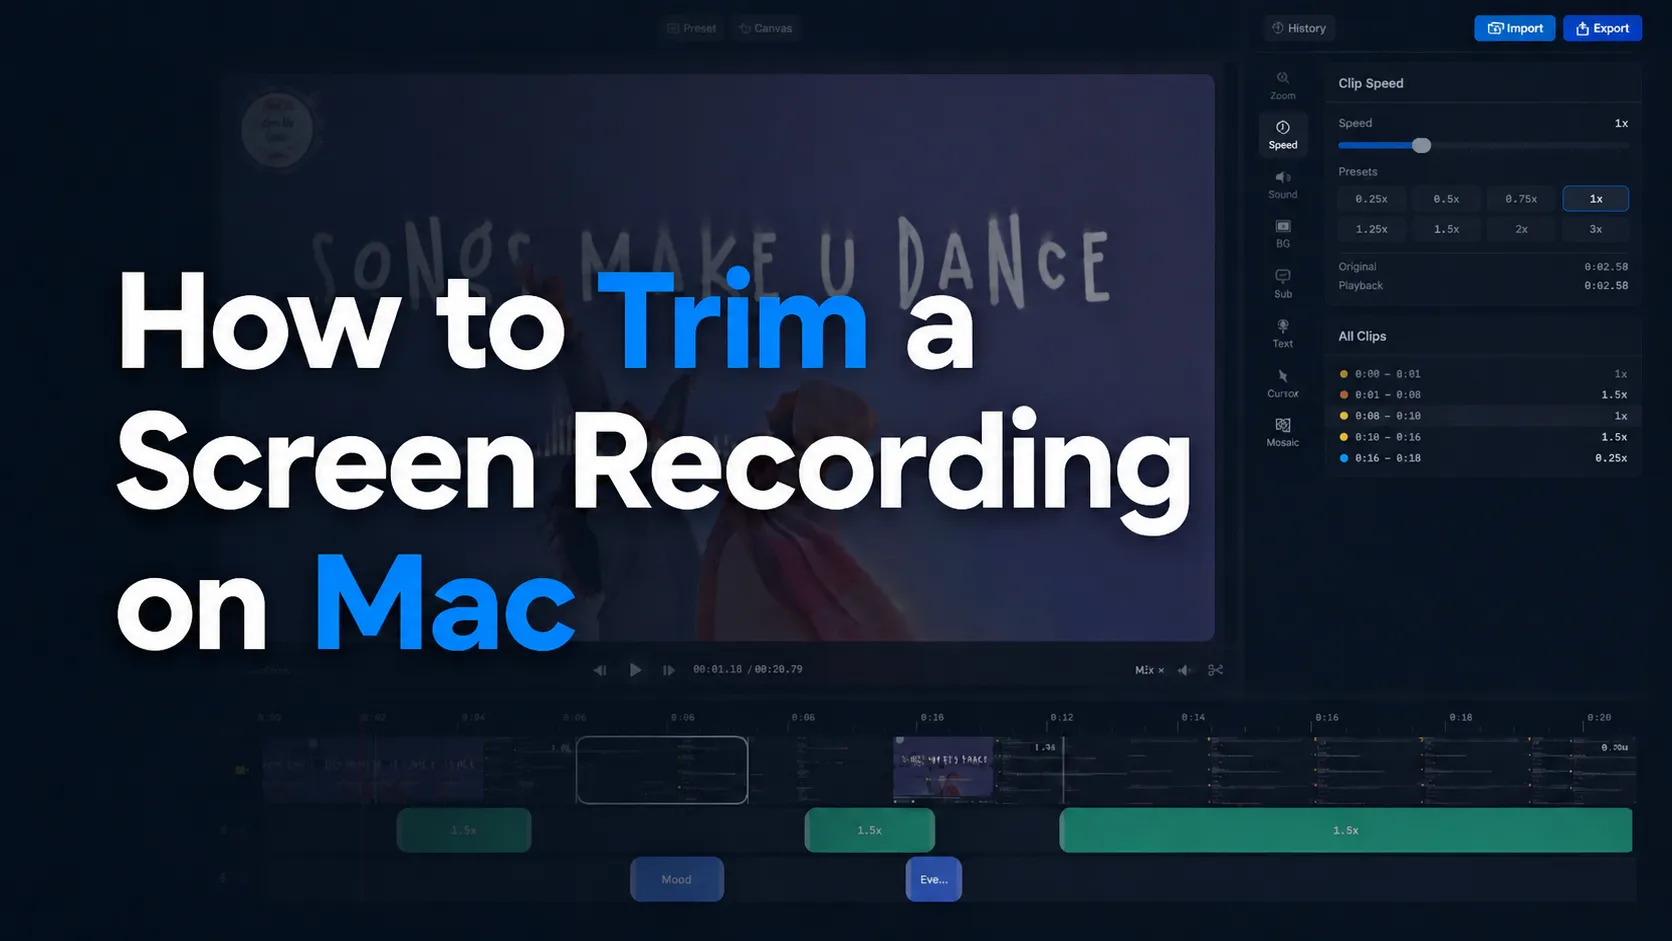
Option 3: Trim with Clipa

Clipa is built specifically for Mac screen recording and editing.
Instead of recording in one app and editing in another, Clipa keeps the workflow together: record, cut, enhance, preview, and export from the same native Mac app.
That matters because screen recordings are different from regular video. You are not just cutting footage. You are often trying to make a workflow easier to follow.
With Clipa, you can record your display, a window, a custom area, or preset aspect ratios such as YouTube 16:9, YouTube Shorts 9:16, Instagram 4:5, and square 1:1. When recording stops, the project opens in the editor so you can start cutting immediately.
How to Trim a Screen Recording in Clipa
Step 1: Record
Open Clipa and choose the capture mode you need.
You can record:
- Display
- Window
- Custom area
- Preset aspect ratios for social and creator workflows
Start recording. When you stop, Clipa opens the recording in the editor.
Step 2: Cut the Timeline

Move the playhead to the point where you want to cut, then use the split tool.
To remove a middle section:
- Move the playhead to the start of the unwanted section.
- Split the clip.
- Move the playhead to the end of the unwanted section.
- Split again.
- Select the unwanted segment.
- Press Delete.
- Preview the result.
This is the key workflow difference. In Clipa, cutting is part of the same screen-recording timeline where the rest of your edits live.
You do not need to export from QuickTime, import into another editor, create a separate project, and then export again.
Step 3: Improve the Screen Recording
After trimming, you can keep working in the same editor.
Depending on the recording, that might mean:
- Adding click zooms so viewers can follow the action
- Adjusting system audio or microphone audio
- Adding subtitles
- Adding or adjusting a camera overlay
- Using mosaic to hide sensitive information
- Changing the canvas aspect ratio for the destination platform
This is where Clipa is different from QuickTime and iMovie. QuickTime is fast for basic edits. iMovie is a general video editor. Clipa is focused on the specific work of making screen recordings clearer.
Step 4: Export
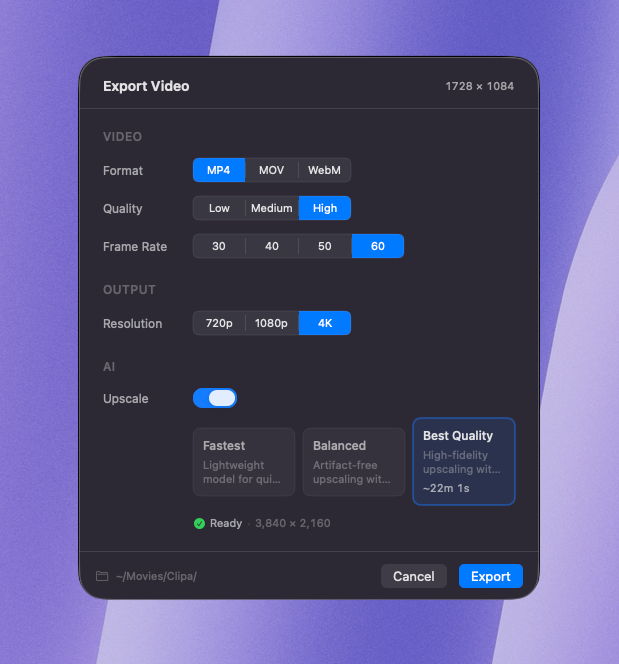
When the edit is ready, export from Clipa.
Clipa gives you controls for:
- Format: MP4, MOV, WebM
- Quality
- Frame rate
- Resolution
For most uploads, MP4 is the safest default. MOV is useful for Apple and QuickTime workflows. WebM can be useful for web delivery.
QuickTime vs. iMovie vs. Clipa
| Feature | QuickTime Player | iMovie | Clipa |
|---|---|---|---|
| Trim start or end | Yes | Yes | Yes |
| Remove a middle section | Yes, basic split/delete | Yes | Yes |
| Split clips | Yes | Yes | Yes |
| Built for screen recording | Basic | No, general video editor | Yes |
| Opens recording into an editing workflow | Limited | No | Yes |
| Click zooms for demos/tutorials | No | No | Yes |
| Screen-recording timeline tracks | No | General-purpose timeline | Yes |
| Camera/audio workflow for recordings | Limited | General-purpose | Yes |
| Export controls | Basic | Yes | Yes |
| Best for | Quick cleanup | Occasional video editing | Regular screen-recording work |
Which Tool Should You Use?
Use QuickTime Player when the edit is small and obvious. If you just need to remove the beginning, cut a short mistake, or save a cleaned-up copy, QuickTime is usually enough.
Use iMovie when you want a free video editor and do not mind the project-based workflow. It is a good option for occasional editing.
Use Clipa when screen recording is part of your work. If you regularly make product demos, tutorials, walkthroughs, support videos, or creator content, the value is not just trimming. The value is keeping the whole workflow in one place.
QuickTime answers: “Can I trim this recording?”
Clipa answers: “Can I turn this screen recording into a polished video without jumping between apps?”
Final Recommendation
If you trim screen recordings often, use Clipa. It is built for the full Mac screen-recording workflow: record, cut, add screen-recording-specific edits, preview, and export.