Screen recording lag on Mac usually starts with capture load, playback load, or export settings. Diagnose the source first.
A laggy screen recording is frustrating because the symptom is vague. The cursor may feel delayed while you record. The saved file may look choppy even though the screen looked normal. The video may play smoothly in one app and stutter in another. Those are different problems, so they need different fixes.
This guide gives you a practical Mac workflow for finding the cause before you re-record. It also shows where Clipa helps when you want a smoother product demo, tutorial, course lesson, or bug report without moving between a recorder and a heavy editor.
Quick diagnosis: capture, playback, or export?
Start by naming the failure mode. Do this before changing every setting at once.
- If the Mac itself feels slow during recording, treat it as capture load.
- If the Mac feels fine but the saved file has missing motion, treat it as dropped frames during capture.
- If the file stutters only in one player, treat it as playback or decode load.
- If the recording is smooth but the final edited video is choppy, treat it as an export setting issue.

Do one short test for each mode. Record a simple window, play the file in another app, then export a small sample. If the lag follows the file everywhere, the source recording is the issue. If it appears only after editing or exporting, keep the source and inspect the export path.
Why screen recording lag on Mac happens
Screen recording is real-time work. macOS has to draw the screen, capture visual frames, encode video, capture audio when enabled, and write the file while the app you are recording keeps running.
Apple's ScreenCaptureKit documentation describes a Mac screen capture framework built for high-performance capture of screen and audio content. It also gives apps fine-grained control over selected displays, windows, and streams: ScreenCaptureKit. That matters because recording the right target is often easier on the system than recording everything on the display.
Apple's sample guidance for capturing screen content also shows that stream configuration choices affect frame timing, output size, and buffering: capturing screen content in macOS. You do not need to write code to use that idea. As a creator, the practical takeaway is simple: capture less unnecessary screen area, keep the source app stable, and avoid asking the Mac to record a complex scene while other heavy work runs in the background.
Step 1: record a smaller target
The fastest fix is often to reduce what the Mac has to capture. If the tutorial is about one app, record the app window or a selected area instead of the full desktop. If the viewer does not need the menu bar, Dock, desktop wallpaper, notifications, and a second monitor, leave them out.
Apple's built-in recording guide explains that Mac users can record the entire screen or a selected portion with Screenshot or QuickTime Player: how to record the screen on Mac. For a performance-sensitive take, the selected portion is usually the cleaner starting point.
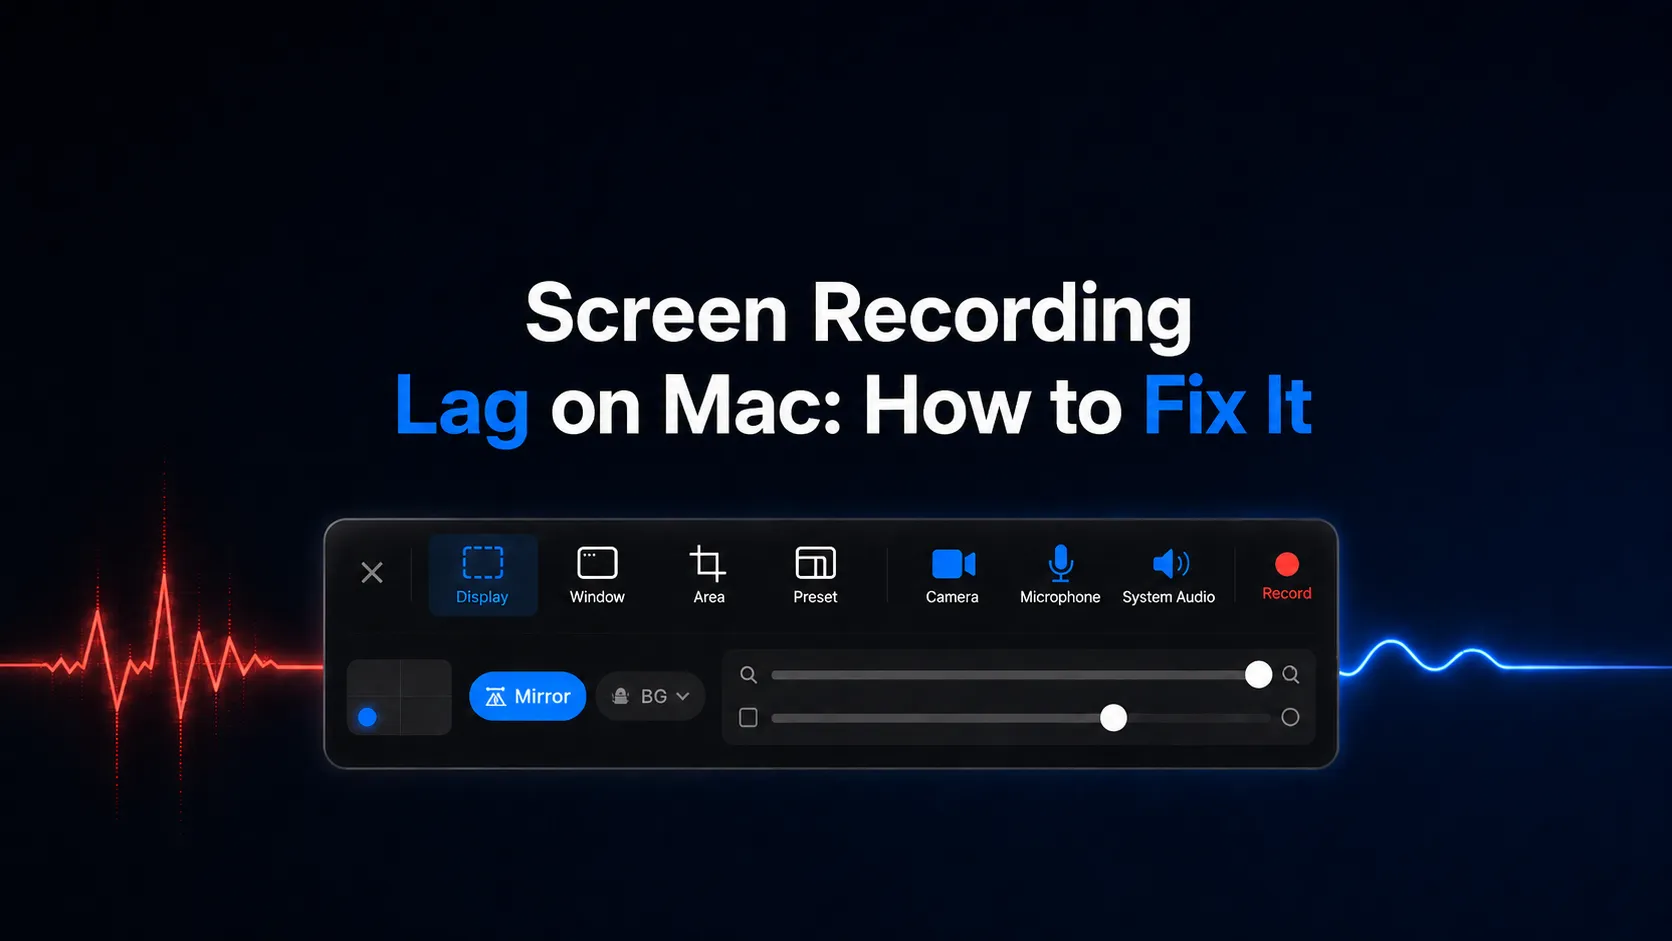
In Clipa, choose the capture mode that matches the finished video. Use Display when the whole screen matters. Use Window or Area when the story is inside one app. Use Preset when you are recording for a fixed social or tutorial format. This reduces cleanup later because the recording already matches the final frame.
Step 2: check Mac load before the real take
Lag often comes from competition. A browser with many active tabs, a video meeting, a simulator, a game, cloud sync, or a background export can steal resources while your recorder is trying to keep a steady capture.
Before recording something important, open Activity Monitor and check CPU activity. Apple explains that Activity Monitor can show processor usage by system processes and apps you opened: view CPU activity in Activity Monitor. Also check memory pressure if the Mac feels generally sluggish. Apple's memory guide explains how Activity Monitor reports memory pressure and swap usage: view memory usage in Activity Monitor.
Close the apps you do not need for the take. Pause cloud sync if it is moving large files. Avoid recording while another app is exporting video. If you need a browser, open a clean window with only the tabs used in the demo.
This is not about turning your Mac into a benchmark machine. It is about giving the recording pipeline predictable conditions.
Step 3: confirm permissions and protected content
Permissions can look like lag when the recorder is fighting the system. A screen recorder may show a black area, freeze a window, or fail to capture the expected source if macOS has not granted the right access.
Apple documents Screen & System Audio Recording permission under Privacy & Security settings: allow apps to use screen and audio recording. If you just installed or updated a recorder, grant permission and quit the app fully before testing again.
Also remember that some protected app windows may not allow recording. Apple's Mac recording guide notes that apps such as Apple TV may block window recording. If the lag or blank output appears only with one protected video app, the capture tool may not be the cause.
Step 4: separate playback stutter from a bad recording
A saved recording can be fine even when playback stutters. This happens when the player, editor, or preview window struggles with the file. It can also happen when the Mac is busy at playback time.
Open the recording in another player. Scrub through the same moment. If one player stutters and another does not, the capture may be usable. If every player shows the same missing motion, the recording likely dropped frames during capture.
This distinction matters because an editor cannot recreate motion that was never captured. You can trim, zoom, crop, add background music, improve pacing, or export at a friendlier size. You cannot perfectly restore frames that the source file never saved.
With Clipa, keep the original recording and use the editor to isolate the weak section. Cut around mistakes, remove dead time, and use zoom to make the important UI area clearer. If the stutter is small and the message is still readable, a tighter edit may be enough. If the source has obvious missing motion during the key action, re-record that section with a smaller capture area and a cleaner Mac state.
Step 5: match settings to the job
Smooth recording does not always mean maximum settings. A bug report, support walkthrough, or internal tutorial usually needs clarity more than a huge canvas. A launch video or public product demo may deserve a higher-quality export, but the recording still benefits from a clean target and stable source.
Use these settings decisions:
- Capture the smallest screen area that still tells the story.
- Turn on camera only when the presenter adds value.
- Record microphone and system audio only when each track is needed.
- Keep the cursor movement deliberate instead of moving quickly across large distances.
- Export for the destination instead of exporting the largest file by default.
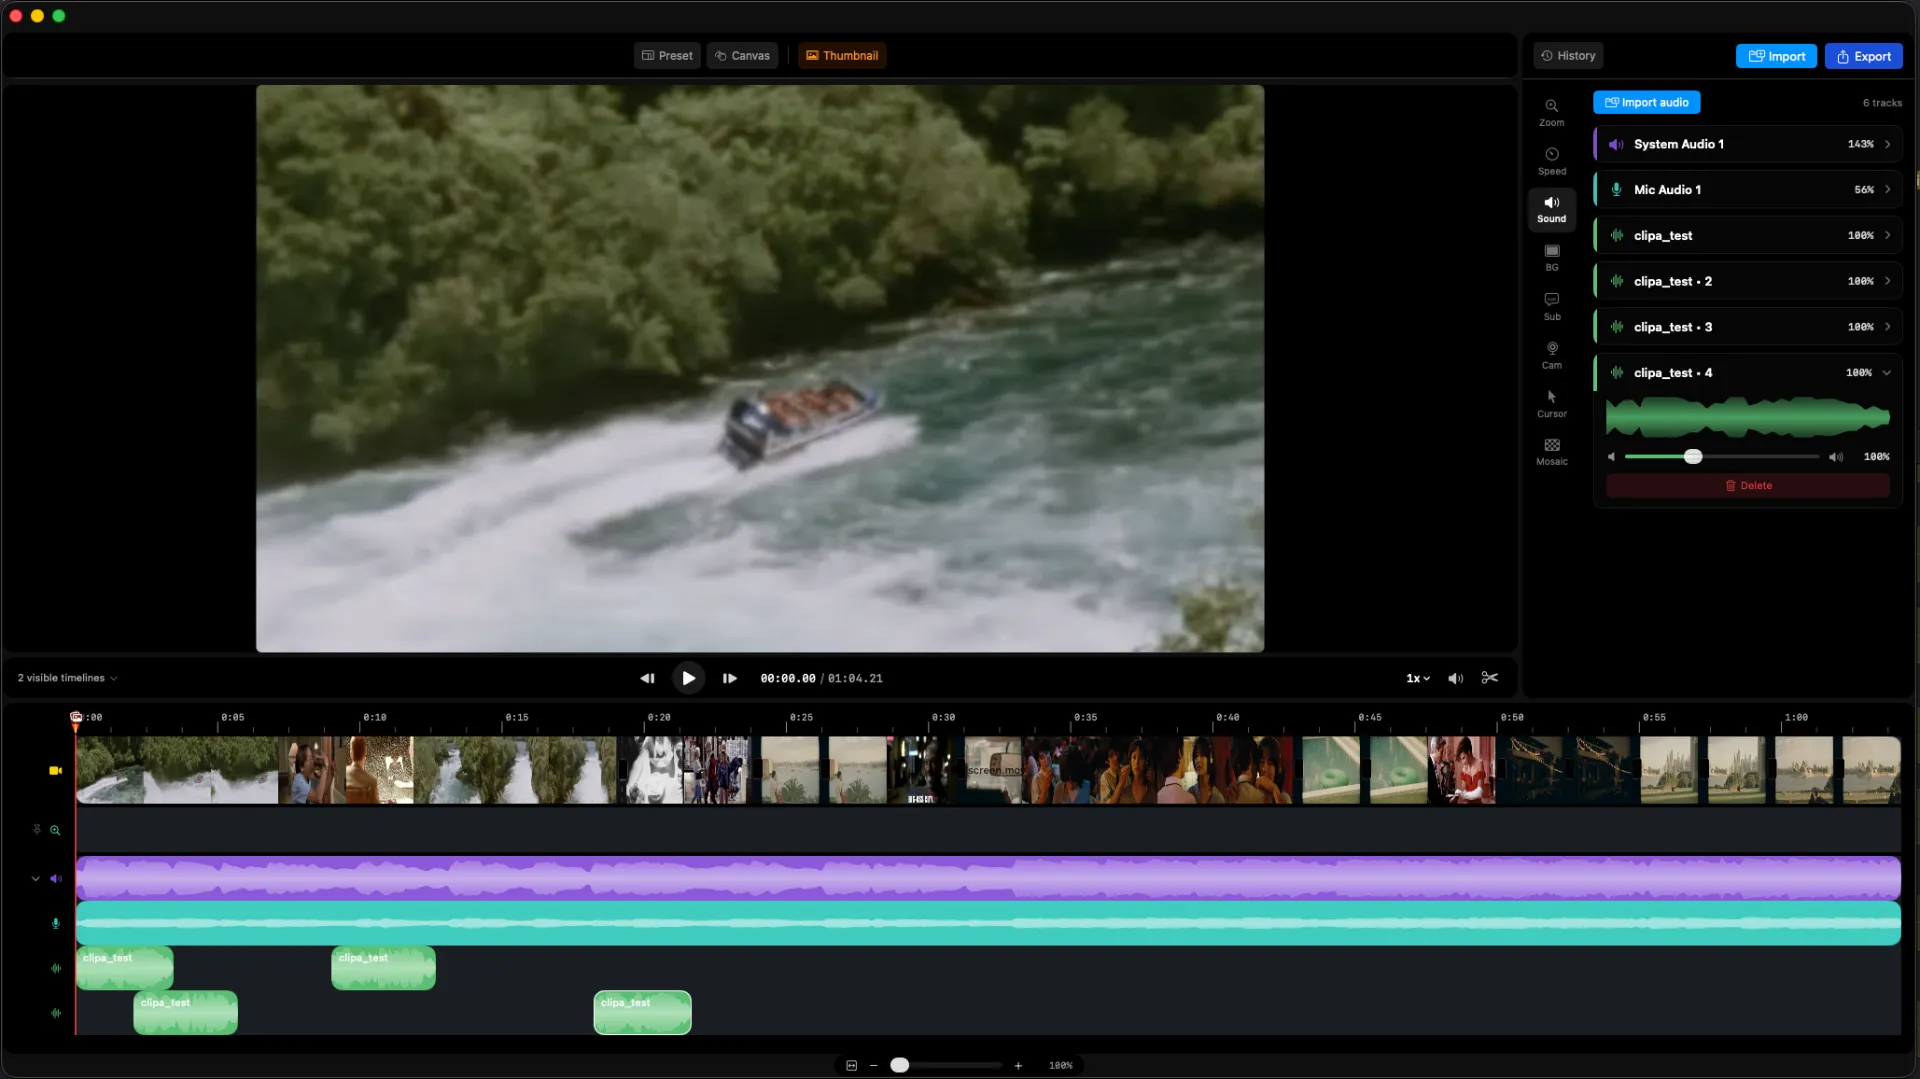
Clipa is useful here because recording, editing, zoom, speed adjustments, audio work, and export live in one Mac workflow. You can record the screen, keep the viewer focused with click-based zoom edits, tighten slow sections with cuts, and export from the same project.
Video needed! [15-second before-and-after clip showing a lag-prone full-screen take replaced by a smaller Clipa window capture with a zoom edit and smoother export; format MP4]
Step 6: use Clipa to make the final video feel smoother
Once the recording is technically stable, polish controls how smooth the video feels to the viewer.
A screen recording can feel choppy when the audience cannot follow the cursor or when the key UI is too small. That is not always a frame-rate problem. It is often a focus problem.
In Clipa, record the right area first. Then use the editor to remove setup time, cut repeated attempts, and add zoom where the viewer needs to read a button, field, or menu. Use speed changes for waiting moments that do not need real-time playback. Keep system audio and microphone tracks aligned with the edit, then export using settings that match the destination.
For product teams, this means a bug report can show the issue without making the viewer search the whole desktop. For educators, it means a lesson can move through setup, explanation, and result without dead time. For creators, it means a Mac screen video can look more intentional without a separate pro editor.
A practical fix checklist
Use this checklist the next time you see screen recording lag on Mac:
- Reproduce the issue with a short, simple recording.
- Record a smaller area or single window.
- Close heavy background apps before the real take.
- Check CPU and memory pressure in Activity Monitor.
- Confirm Screen & System Audio Recording permission.
- Avoid protected windows when testing capture quality.
- Play the saved file in another app before blaming the recording.
- Re-record only the damaged section instead of restarting the whole project.
- Use Clipa edits to tighten pacing, guide attention, and export for the destination.
When to re-record instead of editing
Re-record when the key action has visible dropped frames, when the cursor skips over the important UI, or when audio and visuals no longer communicate the same moment. Editing can improve pacing. It cannot make a damaged capture fully truthful.
Edit when the file is technically sound but feels slow, unfocused, or hard to follow. That is where Clipa's screen-recording editor helps most. You can keep the real take, remove the boring parts, add zoom where attention should go, and export a cleaner video.
Final take
Screen recording lag on Mac is easier to fix when you stop treating it as one problem. Decide whether the issue starts during capture, playback, or export. Reduce the capture target. Check Mac load. Confirm permissions. Then use Clipa to turn the clean take into a focused demo, tutorial, course clip, or bug report.
Download Clipa at https://www.clipa.studio and record your next Mac screen video in a workflow built for capture, editing, and export.