
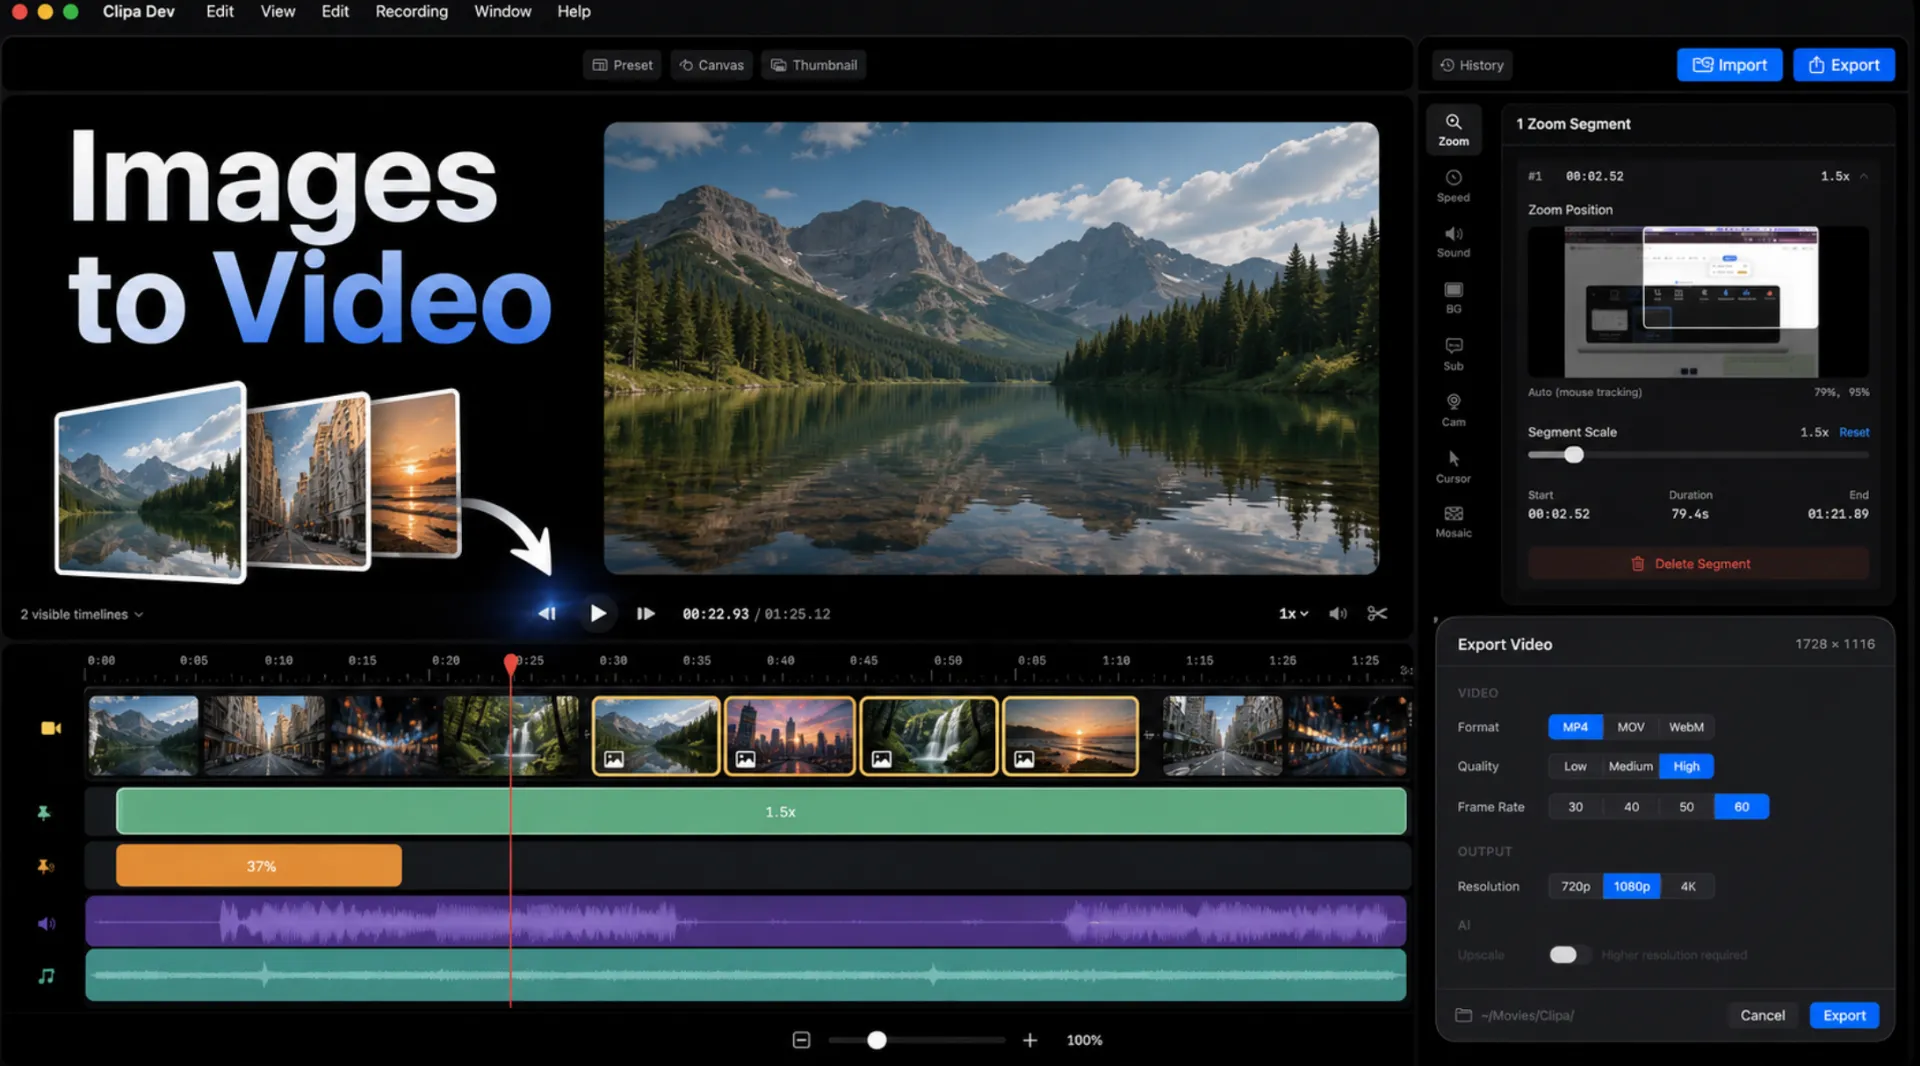
Add images to video on Mac when a screen recording needs context: a product screenshot, a title card, a result frame, or a quick before-and-after.
A plain recording can explain what happened. A recording with the right still images can explain why it matters. Product teams use screenshots to show a final state. Course creators use diagrams to pause on a key idea. Founders use customer quotes or interface mockups to make a demo feel complete.
The challenge is not finding a way to place a picture on a timeline. Mac users have several options. The real challenge is keeping the edit clean after the image arrives: timing, audio continuity, export quality, and visual focus. This guide shows when to use the built-in Mac tools, when a browser editor is enough, and how to handle the workflow in Clipa when the video starts as a screen recording.
How to add images to video on Mac without rebuilding the project
The easiest workflow depends on what the image is supposed to do.
Use a simple Mac player or photo tool when the goal is a basic slideshow. Use a general video editor when you need layered media, music, or text. Use Clipa when your project begins with a Mac screen recording and the image is there to support a tutorial, product demo, bug report, course lesson, or creator walkthrough.
That distinction matters. A screenshot inside a software tutorial is rarely just decoration. It may be a chapter break, a comparison frame, a proof point, or a way to hold the viewer's attention while the voiceover continues. If you add it as an afterthought, the video can feel choppy. If you plan the image as part of the timeline, it becomes a useful beat.
Common Mac options include:
- QuickTime Player for simple movie export and basic playback checks. Apple's QuickTime guide notes that exported movies can use H.264 or HEVC, and that available resolutions depend on the original movie: https://support.apple.com/guide/quicktime-player/export-movies-qtp20e395859/mac
- iMovie for a broader consumer editing workflow when you are comfortable managing a separate project.
- Browser editors such as Clipchamp when you want an online editor. Microsoft's support page describes adding videos, audio, images, stock media, and GIFs to a Clipchamp project: https://support.microsoft.com/en-us/clipchamp/how-to-add-media-to-a-video-in-clipchamp
- Clipa when the source video is a Mac screen recording and you want capture, timeline polish, zoom emphasis, audio checks, and export in one native workflow.
The rest of this guide focuses on the Clipa-style workflow because it is built around screen recordings rather than generic social video editing.
Start with the job the image needs to do
Before importing anything, decide what each image contributes. A still image can do five useful jobs in a screen video.
First, it can set context. A title card with the product name or lesson topic gives viewers a clean opening frame. Second, it can summarize a result. A screenshot of the final dashboard or exported file helps viewers understand the payoff. Third, it can hide a delay. If the app takes time to load, a still frame can bridge the wait without cutting the voiceover. Fourth, it can compare states. A before-and-after pair can show why the workflow matters. Fifth, it can protect privacy. A prepared image can replace a live screen that contains account details or customer data.
This planning step keeps the edit from turning into a stack of random pictures. It also helps you choose duration. A title card may need a short hold. A detailed screenshot may need more time. A visual break between sections should be brief enough that the video keeps moving.
For software demos, do not use images that are sharper, brighter, or more polished than the actual recorded product. Viewers notice the mismatch. Keep the image crop close to the recording crop. Match dark mode or light mode. If the screenshot shows an app window, leave enough margin so it feels like part of the same video.
Prepare images before import
A clean import starts outside the editor. Use images that are already named and ordered by purpose. For example, use names such as 01-title-card.png, 02-final-result.png, and 03-before-after.png. You do not need elaborate file names. You need names that make sense when the timeline gets busy.
Prefer PNG for screenshots with sharp interface text. Use JPEG when the image is a photo and file size matters more than crisp UI edges. If the image contains transparent areas, test it against the background you plan to use. Transparency can look elegant on a designed canvas, but it can also create awkward edges if the video background changes.
Match the image shape to the final video as early as possible. If the final export is widescreen, prepare a widescreen title card or use a background that fills the empty space. If the final export is vertical, use vertical image layouts instead of forcing a horizontal screenshot into a narrow frame.
Import image and video assets into Clipa
Open the recording project in Clipa. Use Import for local media, or drag the image into the preview area when that fits your workflow. Recent Clipa releases improved drag-and-drop imports from local files and Clipa Cloud, so this is a good path when you are assembling recorded video with supporting stills.
Place the image where it belongs in the timeline. If the image introduces a new section, put it at the boundary before the related clip. If it explains what the viewer is seeing, place it near the moment where the voiceover mentions it. If it covers a wait or a loading transition, align it with the part of the audio that should continue uninterrupted.
Keep the timeline readable. One or two still images can make a demo clearer. Too many can make the video feel like a slideshow. If you need many stills, group them by section. Then use clear section breaks so the viewer understands why the format changed.
Time still images so the audio still feels natural
The most common mistake is treating images as silent pauses. In a polished screen recording, audio usually carries the viewer through the image. The picture changes, but the explanation continues.
Play the edit from a few seconds before the image appears. Listen first. Do not watch the preview yet. If the voiceover feels rushed or awkward, adjust the image duration. Then watch the preview and check whether the viewer has enough time to read the image.
For title cards, keep the hold short and confident. For detailed screenshots, give the viewer time to scan the important region. If the image includes tiny UI text, consider zooming into the relevant area instead of making the whole image stay on screen longer.
This is where Clipa's screen-recording focus helps. A still image can sit inside a broader edit that also uses cursor emphasis, zoom segments, music, microphone audio, and system audio. You are not just inserting a file. You are shaping attention.
Make still images feel like part of the recording
A still image can feel abrupt if it appears with no visual relationship to the surrounding footage. Use a few simple checks.
Match scale first. If the recording shows a full browser window, a full-size screenshot will feel natural. If the recording is zoomed into a toolbar or form, a full-window screenshot may feel too distant. Use a tighter crop or zoom emphasis so the visual language stays consistent.
Check motion next. Screen recordings often have cursor movement and interface changes. A static image suddenly removes that motion. That can be useful when you want focus, but it can feel dead if it lasts too long. Use the still frame as a short emphasis point, not a long detour.
Then check the background. If you use a designed canvas, make sure the image does not float without context. A subtle background can help a screenshot feel intentional. A loud background can make interface text harder to read.
Finally, check audio. If music is running under the section, make sure the image does not land on an awkward beat. If microphone audio continues, make sure the image appears as the sentence introduces it.
Export settings for an image-heavy Mac video
Images often make compression issues more visible. Sharp UI text, flat colors, and thin lines can reveal blur faster than camera footage. Before exporting, preview the sections with screenshots and title cards at normal size.
Pick a format that matches the destination. MP4 is a practical default for broad sharing. MOV can fit Mac-centered workflows. WebM may be useful for web delivery. Apple documents that QuickTime export options are tied to the source movie and common resolutions, and the same principle applies broadly: the export cannot add real detail that the source image never had.
In Clipa, choose a resolution that fits the final channel. Use a higher resolution when the image includes dense UI text and the upload destination will compress the video. Keep frame rate consistent with the recording unless there is a reason to change it. A still image does not need a higher frame rate, but the surrounding cursor movement and zooms should remain smooth.
Do one full playback after export. Check the first image, the most detailed image, and the transition back to live screen footage. If all three moments look clear, the rest of the edit is usually in good shape.
When not to add images
Do not add images just because the timeline feels empty. If the screen recording already shows the result clearly, an extra screenshot may slow the story down. If the viewer needs to see a live interaction, a still image can remove trust. If the image is lower quality than the recording, it can make the whole video feel less polished.
Also avoid adding screenshots that show private customer information, internal URLs, API keys, billing screens, or unreleased product details. Use a redacted image or a dedicated demo account instead. For sensitive walkthroughs, Clipa's blur or mosaic tools can also help hide details directly in the recording.
A practical Clipa workflow
Here is a simple workflow for a product demo or tutorial:
- Record the walkthrough in Clipa.
- Import the title card, result screenshot, or comparison image.
- Place each image near the sentence that explains it.
- Use zoom emphasis when the image contains small interface details.
- Check microphone and system audio continuity around the image.
- Export and watch the image-heavy sections before sharing.
That workflow keeps the still image connected to the story. It also avoids the common trap of exporting a recording, opening a separate editor, adding a screenshot, and then discovering that the audio or export settings changed.
Final take
The best way to add images to video on Mac is to treat images as part of the edit, not as decoration. Decide what the image needs to prove. Prepare it at the right shape. Place it where the viewer needs it. Then export with enough quality for UI text and product details to stay readable.
If your video starts as a Mac screen recording, Clipa keeps that workflow in one place: record, import supporting images, polish the timeline, check audio, and export a shareable result. Try Clipa Studio at https://www.clipa.studio.