
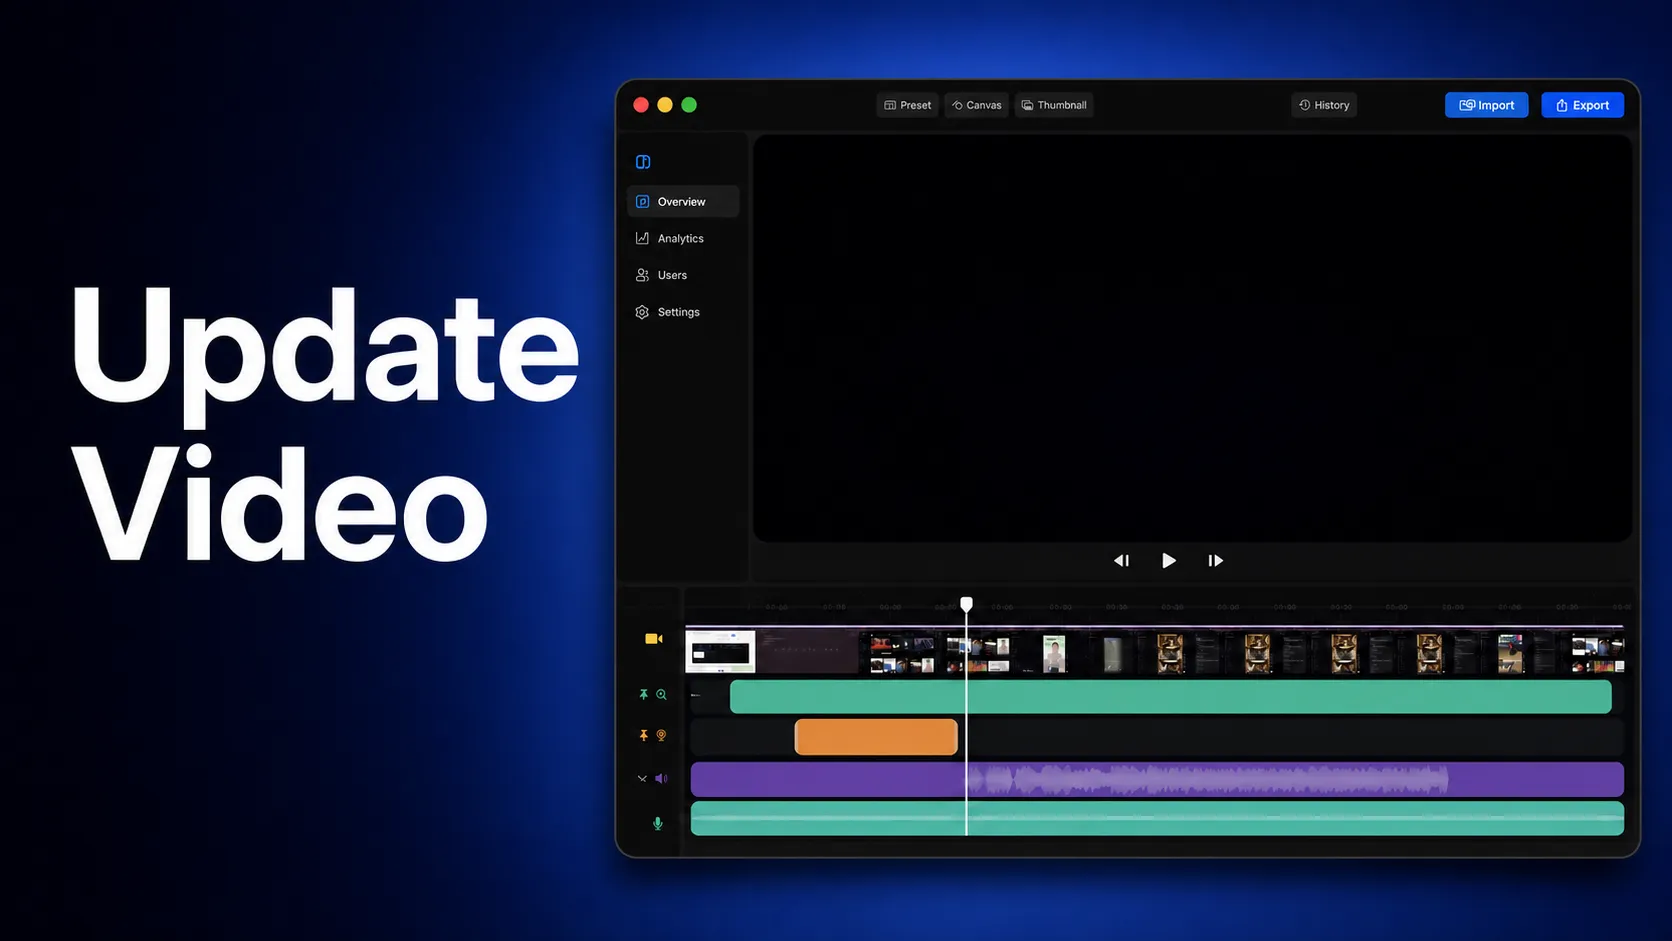
A product update video turns a changelog into a practical walkthrough that customers can understand, trust, and try.
Most release notes ask readers to imagine the new workflow. A product update video shows it. For a Mac app, that usually means capturing the feature in context, trimming the quiet parts, highlighting the moment that changed, adding enough narration or subtitles to make the point clear, and exporting a clean file for your website, email, help center, or social channels.
This guide is written for SaaS founders, product marketers, customer success teams, and indie app makers who need a repeatable way to announce improvements without opening a heavy production stack. The goal is not to make a cinematic launch film. The goal is to make a clear update video that helps users notice the change and understand why it matters.
Product update video planning: choose one user outcome
Start with the user outcome, not the feature name. A release note can say “Export History is available.” A useful video says “Here is how to check where your last export went.” That small shift gives the video a natural story.
Before you record, write one sentence that finishes this prompt: “After watching, the user should be able to…” Keep it specific. Good examples include:
- Find a completed export from history.
- Turn recorded speech into editable subtitles.
- Capture an app window without showing the whole desktop.
- Add a quick cursor zoom so viewers can follow a click.
This sentence becomes the guardrail for the whole edit. If a clip does not help the viewer reach that outcome, cut it.
For Clipa, this is a natural workflow because recording and editing live in the same Mac app. You can record the update, open it in the editor, add zoom segments or subtitles, review the timeline, and export without moving the project through several tools.
Turn the release note into a short script
A product update script should feel like a guided action, not a press release. Use a compact structure:
- Name the old friction.
- Show the new workflow.
- Point out the result.
- Tell the viewer where to try it.
For example:
“Before this update, it was easy to lose track of where an export finished. Now Export History keeps completed and running exports in one place. Open History, check the status, and reveal the finished file from the same window.”
That script gives you a capture path. It also prevents the video from drifting into a tour of every nearby control. Product update videos work better when they prove one improvement with one clean example.
If the update involves speech, subtitles, export status, or visual polish, record a sample project that has enough real content to make the feature meaningful. Empty demos often feel artificial. A short screen recording with visible cursor movement, a few spoken words, and one export target will give the edit more texture.
Capture only the screen area the update needs
Mac product videos are often less clear because they show too much. Full desktop capture can reveal private tabs, notifications, dock clutter, or irrelevant windows. It also makes UI text smaller after upload compression.
Choose the smallest capture mode that still gives context. A single app window works well for most update demos. A selected area is useful when the feature lives in one panel. Full display capture is better when the update changes a system-level workflow or when users need to understand the surrounding Mac context.
Apple’s ScreenCaptureKit is the modern framework for high-performance screen and audio capture on Apple platforms. That matters for product teams because capture quality is not just about pixels. Smooth cursor movement, readable UI text, and stable audio timing all affect whether viewers trust the update.
Clipa is built for Mac screen recording and editing, so the capture stage can include display, window, or area recording, camera input, microphone input, and system audio when the update needs sound. Use only the tracks that help the announcement. A silent feature update can rely on subtitles. A workflow tutorial may need microphone narration. A media or playback feature may need system audio.
Record one clean take, then polish the pace
Do not chase a perfect take. Record a clean enough walkthrough and use the edit to remove friction. Start recording a few seconds before the action, pause briefly before each important click, and leave a small ending buffer after the result appears. Those extra moments make trimming easier.
In the Clipa editor, cut setup time from the beginning and remove dead air between steps. Keep the cursor visible when it explains the action. Use zoom effects when the viewer needs to read a button, menu, or small status change. A zoom should answer “where should I look now?” It should not become decoration.
For update videos, pacing is usually more important than length. A focused announcement can feel slow if the viewer watches a mouse travel across the screen for too long. It can also feel rushed if the new feature flashes by without context. Trim navigation, keep the proof moment, and give the result enough time to register.
Add subtitles when sound is optional
Many product update videos are watched from email, social feeds, documentation pages, or team chat. Sound may be off. Subtitles help the update remain understandable in those contexts.
Clipa’s recent release added on-device subtitle generation with a transcript view. That makes subtitles useful for more than accessibility cleanup. You can generate a first pass from the selected audio, review the text, fix product terms, and keep the timeline aligned with the spoken walkthrough.
For a product update video, subtitles should be concise. They do not need to repeat every hesitation from the recording. If your narration says “so now I’m just going to click this little button here,” the subtitle can become “Open Export History.” Keep the user’s next action clear.
If the update is visual and you do not want narration, use short title cards or text overlays instead. The same principle applies: explain the outcome, not the internal implementation.
Use zoom, cursor cues, and click sounds with restraint
A product update video should make the interface easier to follow. Cursor cues can help, but too many effects make a demo feel noisy.
Use a cursor highlight or click effect when the exact interaction matters. Use zoom when the feature is small or the recording will be viewed on a phone. Use optional click sounds only when they improve rhythm and do not distract from speech.
Clipa supports cursor effects, zoom editing, and optional mouse click sounds, which are useful for showing UI changes without adding a separate annotation pass. The key is restraint. Highlight the decisive moment, then let the interface breathe.
Export for the destination, not for every destination
A product update video made for a changelog page is not always the same export you would use for a short social post. Before exporting, decide where the first version will live.
For a website or help center, prioritize readable UI text and stable playback. For email, keep the file practical and consider linking to a hosted version. For social, crop and pacing may matter more than a full-window view.
Apple’s AVAssetExportSession describes export around a preset, output file type, and output URL. In everyday terms, that means format and quality choices are part of the final user experience. If the UI text becomes blurry, the video stops helping.
Clipa’s export flow includes common choices such as MP4, MOV, WebM, quality, frame rate, resolution, and AI upscaling options when higher-resolution output is needed. Use the simplest export that preserves the point. A crisp, readable MP4 is often more valuable than a huge file that nobody wants to open.
Keep privacy checks in the workflow
Product update videos often show real product data. Before recording, switch to a demo account, hide private workspaces, close unrelated apps, and disable notifications. After recording, scrub the timeline for accidental secrets.
Mac users can manage app access in Privacy & Security settings, including permissions that affect screen, camera, and microphone workflows. This is not just a setup chore. It is part of a trustworthy publishing process.
If sensitive content appears after the fact, use blur or mosaic tools before export. A clean product update should increase confidence in the release. It should not make viewers wonder what else was visible.
A repeatable Clipa workflow
Here is a practical workflow you can reuse for each release:
- Pick one user outcome from the release note.
- Prepare a demo project or account with realistic content.
- Record the smallest useful screen area.
- Trim setup time and repeated navigation.
- Add zoom only where the viewer needs focus.
- Generate or write subtitles for sound-off viewing.
- Export for the first publishing destination.
- Review once for privacy, clarity, and product accuracy.
This workflow keeps the update video close to the product. It avoids the common trap of turning a small release into a large campaign asset. You can still make a larger launch video later. For weekly and monthly improvements, a focused walkthrough is usually enough.
Final checklist before publishing
Before you publish the product update video, watch it once as a new user. Ask five questions:
- Can I tell what changed without reading the release note?
- Is the first meaningful action visible quickly?
- Are the cursor and zoom effects helping me follow the workflow?
- Can I understand the video without sound?
- Is the exported file readable at the size where it will be embedded?
If the answer is yes, the video is ready for a changelog, launch email, help article, or product update page.
Product updates deserve more than a buried bullet list. With a focused Mac recording workflow, light editing, subtitles, and export settings that preserve UI clarity, each release can become a useful customer touchpoint. Try the workflow in Clipa at https://www.clipa.studio.