
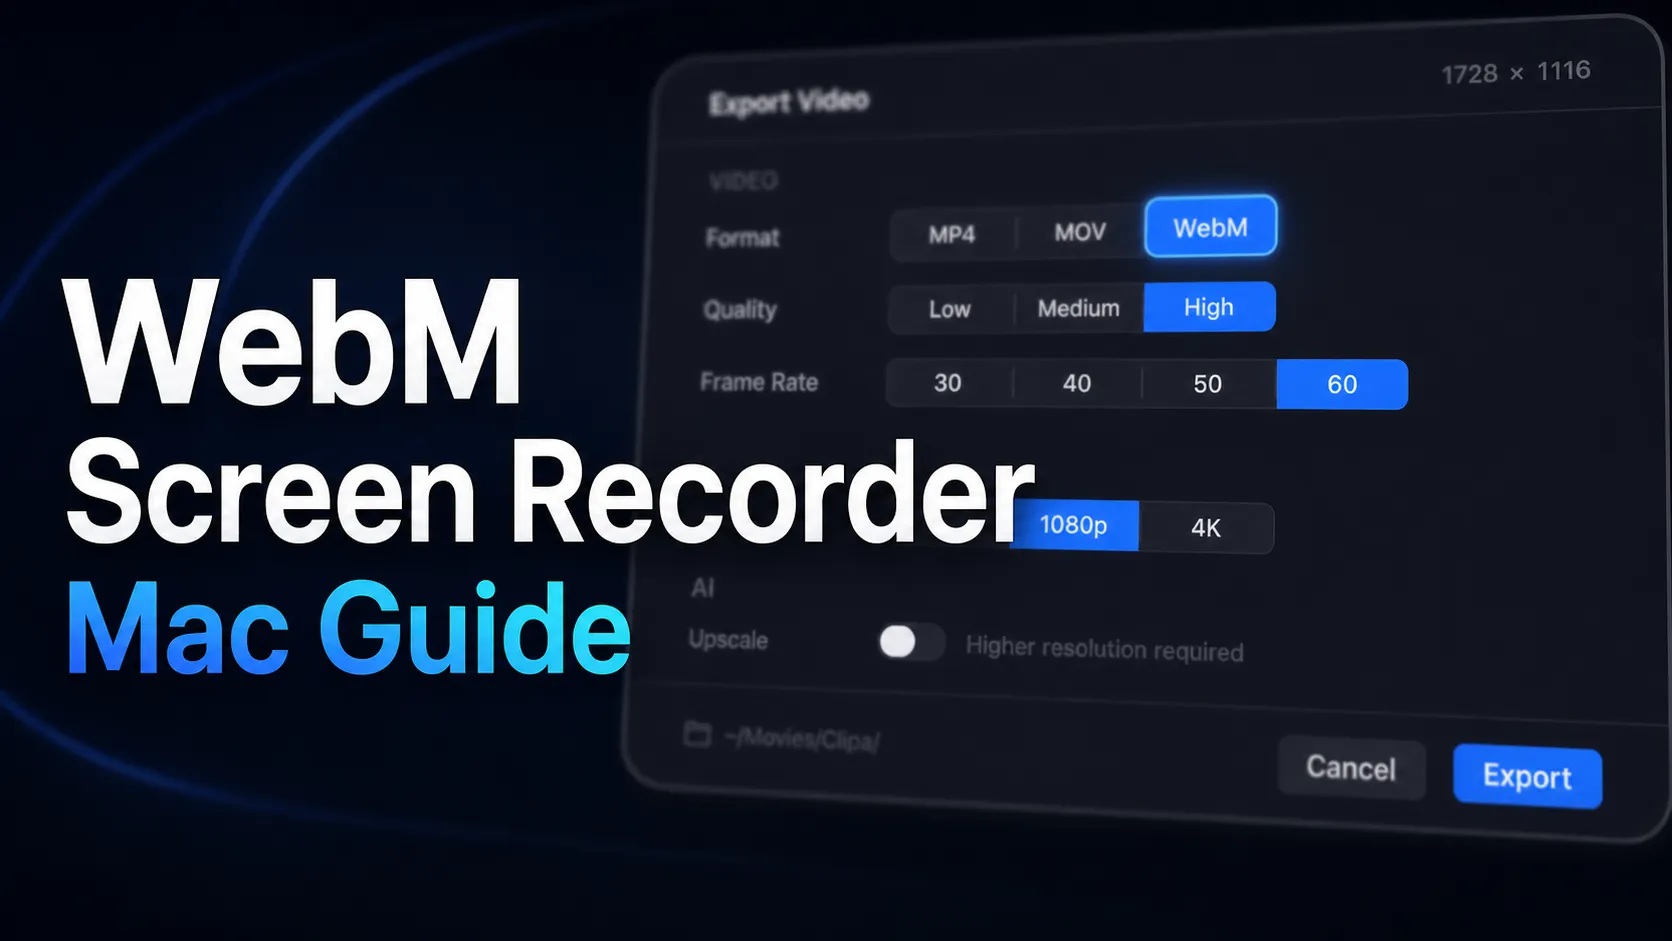
WebM screen recorder Mac workflows are for people who need a browser-ready screen video without a separate conversion step.
If you publish product walkthroughs, help-center clips, release notes, or short tutorial videos on the web, WebM can be a useful final format. It is designed for web video, and the WebM Project describes it as an open media file format built for the web. That makes it a natural fit when the destination is a landing page, documentation page, changelog, or lightweight embedded video.
The hard part on Mac is not starting a recording. Apple already gives every Mac user Screenshot and QuickTime recording tools. Apple’s Mac User Guide says Screenshot can record the entire screen, a selected window, or a selected portion of the screen, and that screen recordings are saved as .mov files. That is convenient for a quick capture, but it often leaves you with a second job: convert, compress, trim, and prepare the video for the place where it will actually live.
Clipa is built for the full Mac screen-video workflow. You can record, edit, add focus with zoom or cursor effects, and export in MP4, MOV, or WebM from the same editor. This guide explains when WebM is the right choice and how to build a cleaner Clipa workflow around it.
Why a WebM screen recorder Mac workflow matters
A WebM screen recorder Mac workflow matters when the final video is meant to be watched in a browser instead of archived as a project file. Many Mac recordings start as a MOV because that is the default path in Apple’s built-in tools. MOV is useful, especially inside Apple workflows, but it is not always the final format a website owner wants.
WebM is commonly used for web playback because it pairs a web-friendly container with modern codecs. The WebM Project’s overview describes WebM as a file format for compressed video and audio streams. In Clipa’s WebM export path, the final file is produced with VP9 video and Opus audio, which keeps the output focused on web delivery.
The practical benefit is fewer handoffs. A separate conversion app can work, but it adds places where quality, timing, and naming can drift. You may record in one tool, trim in another, convert in a third app, then review the final output somewhere else. If the video needs one last cursor zoom, subtitle change, or cut, the workflow loops backward.
Clipa keeps that work in one timeline. Record the screen, polish the clip, then choose WebM at export when the destination calls for it.
When WebM is the right export format
Use WebM when the video’s main home is a web page and you want a compact browser-oriented file. Common examples include product feature clips, small documentation demos, changelog videos, and lightweight tutorial embeds.
Use MP4 when compatibility is the top priority. MP4 is still the safest default for sharing with clients, uploading to broad social platforms, attaching to support conversations, and sending to people whose playback environment you do not control.
Use MOV when you want an Apple-native intermediate or a file that fits an editing workflow around QuickTime-based media. Apple’s AVFoundation documentation describes export as a process where an app chooses a preset, output file type, and output URL. That distinction matters: the capture format and the delivery format do not have to be the same.
For many Clipa users, the decision is simple:
- Choose WebM for website embeds and browser-first videos.
- Choose MP4 for broad sharing and platform upload.
- Choose MOV for Apple-centric review or intermediate work.
This is not a quality ranking. It is a destination choice.
How to record and export WebM in Clipa
Start with the recording scope. A full-screen recording is helpful when you need context, but most product and tutorial clips are clearer when you capture one app window or a focused area. Keep the recording area tight enough that UI text remains readable after export.
Next, record the action in a calm pass. Do not try to make every motion perfect. A good screen video often comes from a clean structure, not a flawless take. Pause before important clicks. Leave a little space before and after the moment you want to highlight. If you are recording a product workflow, move through the steps in the same order a viewer would follow.
After recording, open the clip in Clipa’s editor. Trim dead air from the start and end. Remove repeated attempts. Add zoom effects where a viewer needs to read a button, menu, chart, or cursor action. If the video includes narration or important spoken context, use subtitles when they help the viewer follow without sound.
Then open Export Video. Choose WebM as the format. Pick the resolution, frame rate, and quality setting based on the destination. A documentation clip with static UI can usually prioritize clarity and manageable size. A product animation with fast motion may need a higher frame rate to feel smooth.
Export settings that usually matter most
Format is only the first decision. The settings around it shape the final result.
Resolution controls how much detail the viewer can see. For most embedded product clips, 1080p is a strong starting point because UI text stays readable without creating an unnecessarily heavy file. Use a higher resolution when the destination is full-screen playback or when the source UI contains fine detail.
Frame rate controls motion. Static tutorials and slower walkthroughs can look clean at a moderate frame rate. Fast cursor movement, animated interfaces, and zoom-heavy demos benefit from smoother output. The goal is not to chase the largest number. The goal is to preserve the motion that teaches the viewer what happened.
Quality controls compression. Lower quality can reduce file size, but it can also make small UI text harder to read. This matters more for screen recordings than for camera footage because software interfaces contain thin lines, small labels, and sharp edges. Review the exported WebM at the same size where it will be embedded.
Audio also matters. If your WebM includes voiceover, system audio, or click sounds, check the final file with headphones. A clean visual export can still feel unprofessional if the narration is too quiet or if a click sound distracts from the message.
A practical WebM workflow for product videos
Here is a simple workflow for a website-ready product clip.
First, write the outcome in one sentence. For example: “Show how to turn a rough recording into a polished tutorial.” That sentence keeps the recording focused.
Second, record only the steps that prove the outcome. Avoid settings panels, account pages, or setup screens unless they are part of the promise. If a user would not need that detail to understand the result, cut it.
Third, edit for attention. Use zoom to guide the eye. Use subtitles for spoken guidance. Use cursor effects when the click itself is part of the instruction. Keep each edit tied to comprehension.
Fourth, export a review file. Watch it once as a creator, then once as a viewer who has never seen the workflow. If you notice a slow start, a missed cursor movement, or a confusing jump, fix it in the timeline before exporting again.
Fifth, export WebM for the web page. Put the file into the real page or staging page and check the embed size. A video can look clear in a desktop player and still feel cramped inside a narrow content column.
WebM does not replace every format
A good WebM screen recorder Mac workflow should still leave room for MP4 and MOV. WebM is useful, but it is not the universal answer.
If you are sending a video to a customer, MP4 is often safer. If you are archiving a master file for later edits, MOV may be more convenient. If you are publishing a clip directly to a website, WebM may be the right final step.
This is why Clipa’s export dialog includes all three choices. The editor is not asking you to decide before you record. You can make the recording first, edit the timeline, then choose the delivery format when the destination is clear.
That is the real advantage over a capture-only workflow. You do not have to know the final file format at the moment you press record.
Common mistakes to avoid
Do not record too much screen. Large capture areas make browser embeds harder to read. Capture the app window or focused region when possible.
Do not export before trimming. Viewers decide quickly whether a clip is worth watching. Remove waiting time, setup hesitation, and accidental mouse movement.
Do not rely on conversion to fix unclear source footage. A WebM export can preserve a good recording, but it cannot make a confusing recording clear by itself.
Do not skip playback review. Open the exported file before publishing. Check text readability, audio level, cursor visibility, and whether the first few seconds explain the point.
Do not use WebM when the recipient asked for MP4. The right format is the one that fits the delivery path.
Final checklist
Before you publish a WebM screen recording from Mac, run this quick pass:
- The capture area shows only what the viewer needs.
- The first seconds make the outcome clear.
- Cursor movement and zoom effects guide attention.
- Small UI text is readable at the embedded size.
- Audio is balanced and not distracting.
- The exported WebM plays correctly in the target browser or staging page.
- You still have an MP4 or MOV export available if another destination needs it.
Clipa is a good fit when you want the recording, edit, and export decisions to stay together. You can capture the Mac screen, polish the timeline, and choose WebM only when the final destination calls for a browser-ready file.
Try the workflow with Clipa at https://www.clipa.studio.